
In this second article I will detail all the steps required to get your newly set up Pi playing and obtaining content, as well as discuss some options for customisation. Many of the topics are entirely optional, so feel free to use as little of as many of these as you desire.
This part will focus on configuration, customisation, tweaks and managing content – by which I mean video content. While it is possible to get your Pi to do far more than play video (while still keeping the media centre functionality) such as play emulated games, those topics are best left to a potential, later guide.
First Steps
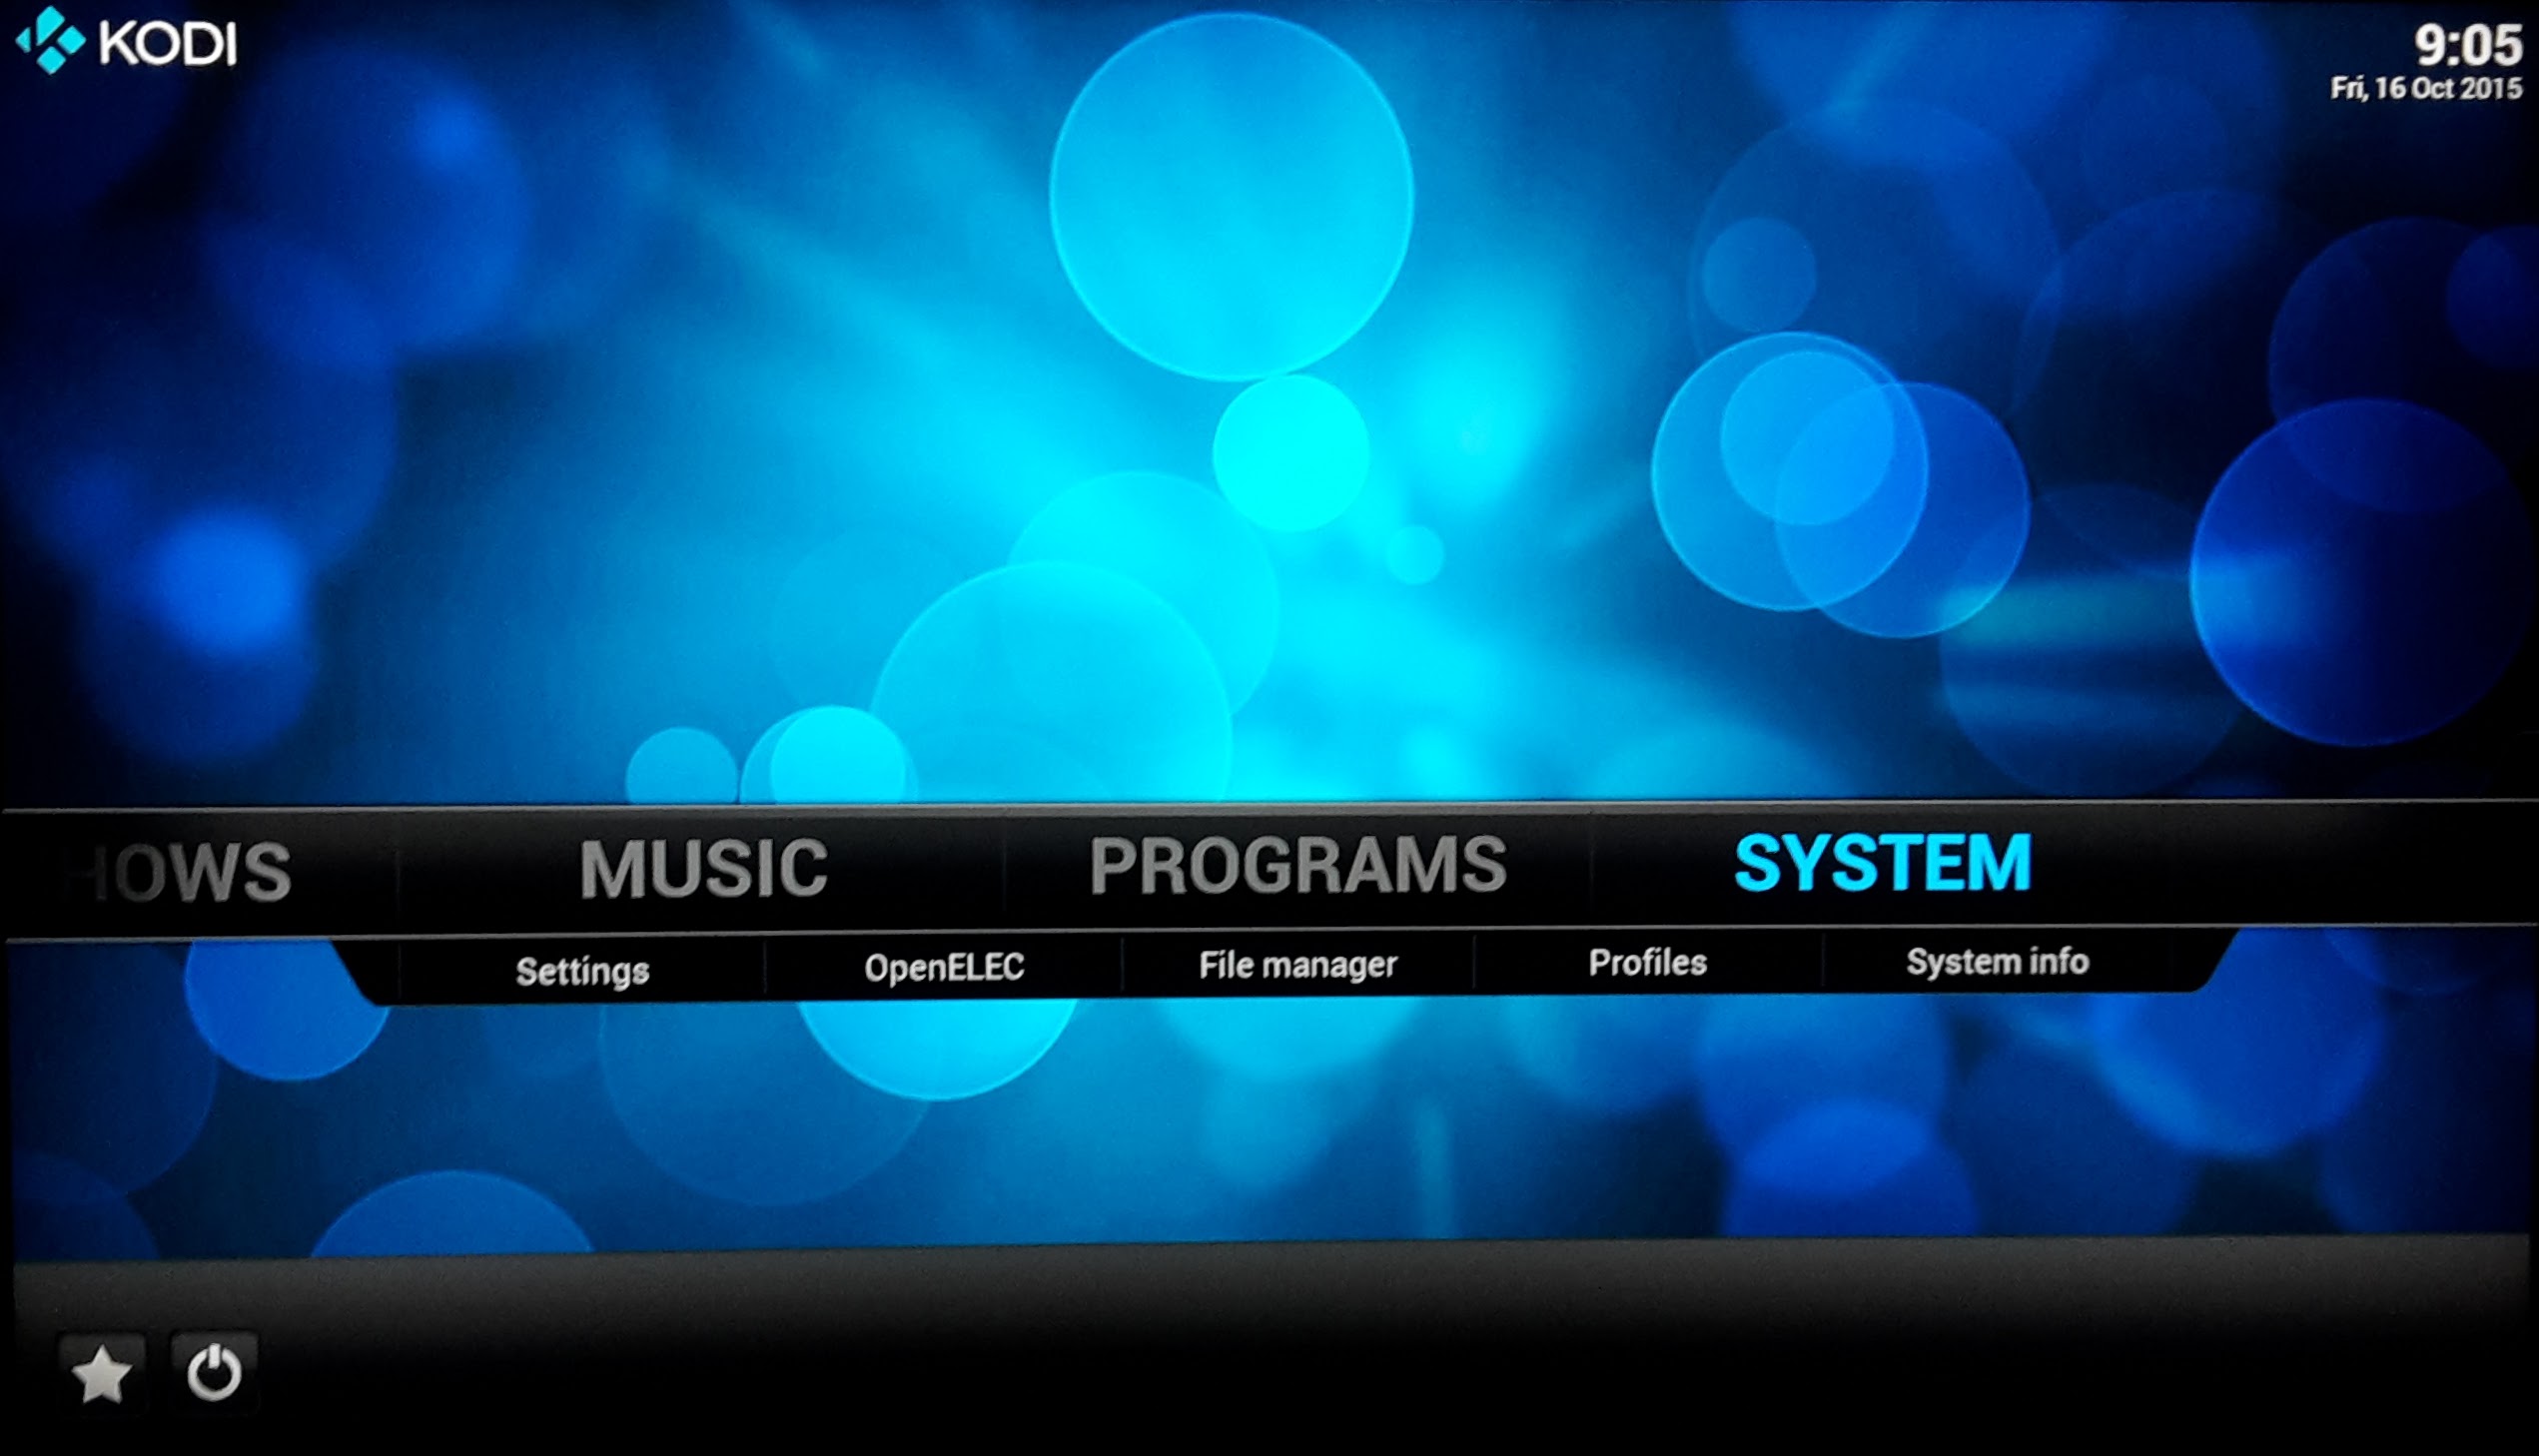
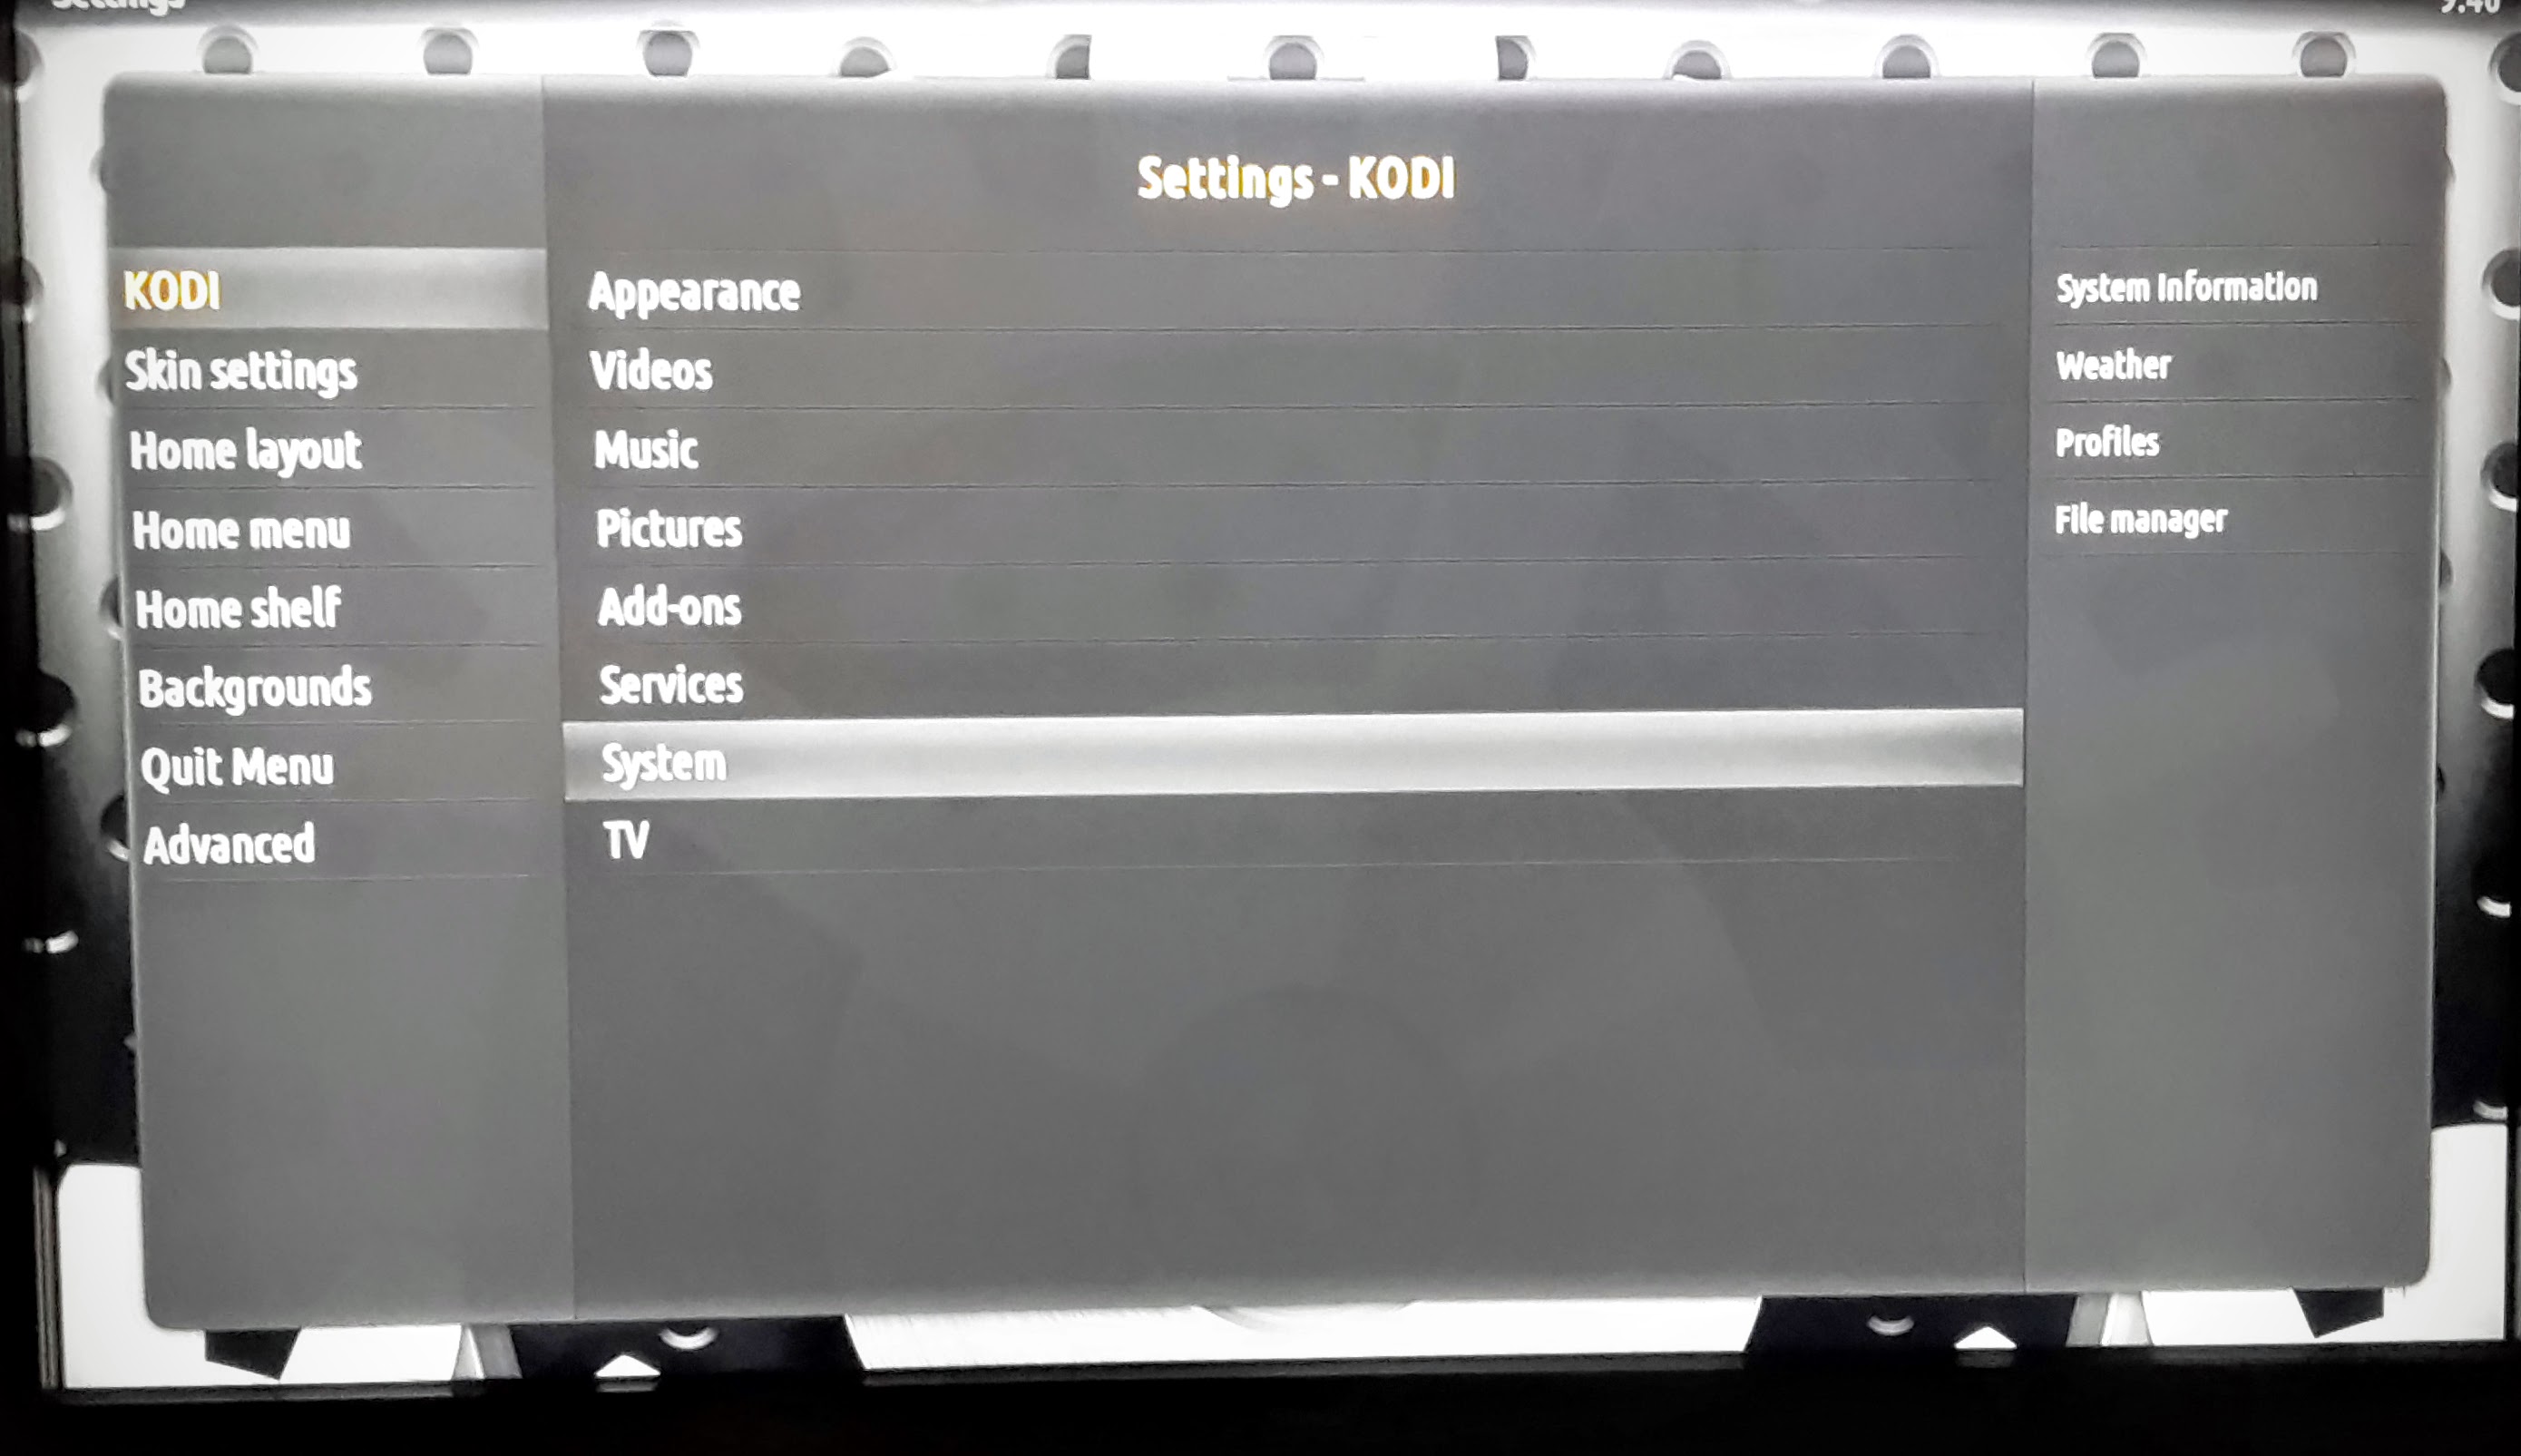
We left the last article on the Kodi home screen, with no content added. For the next few steps you’ll be spending a bit of time in the System menu, so hunt down the Settings and the Services and Add-ons submenus, which have a few options you might like to tweak. Set the Settings level to Expert in order to see all the available choices.
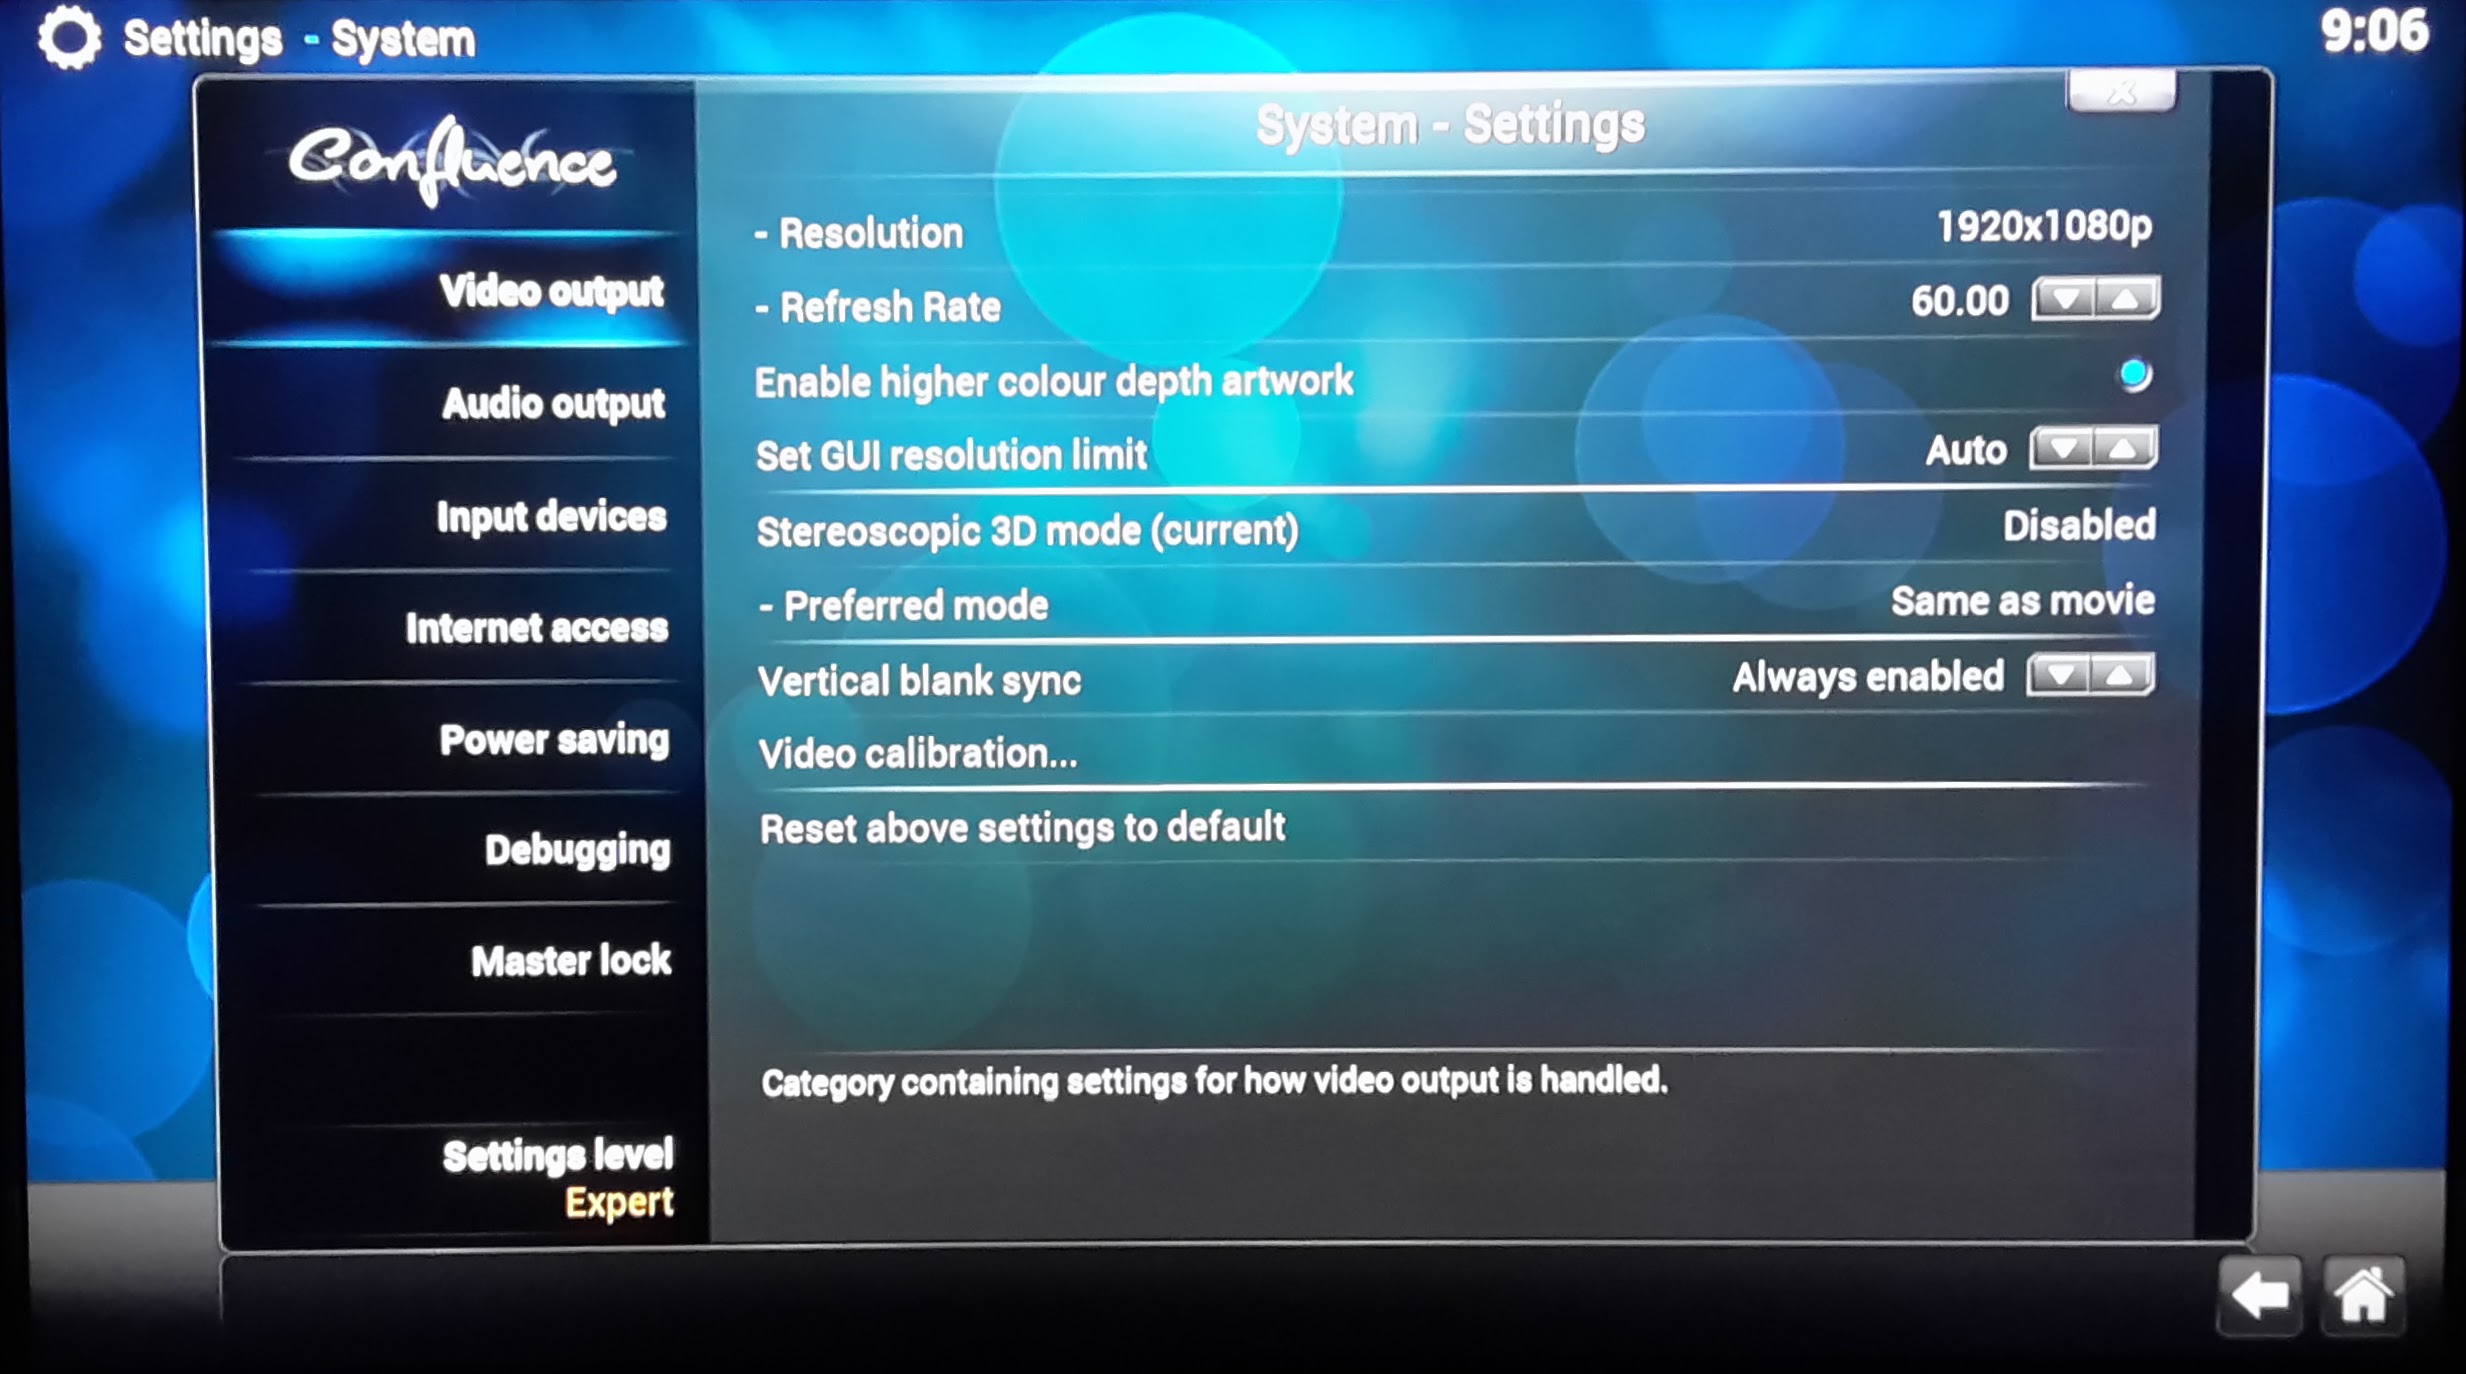
Make sure the video settings are correct for your TV so that videos can play at the best quality.
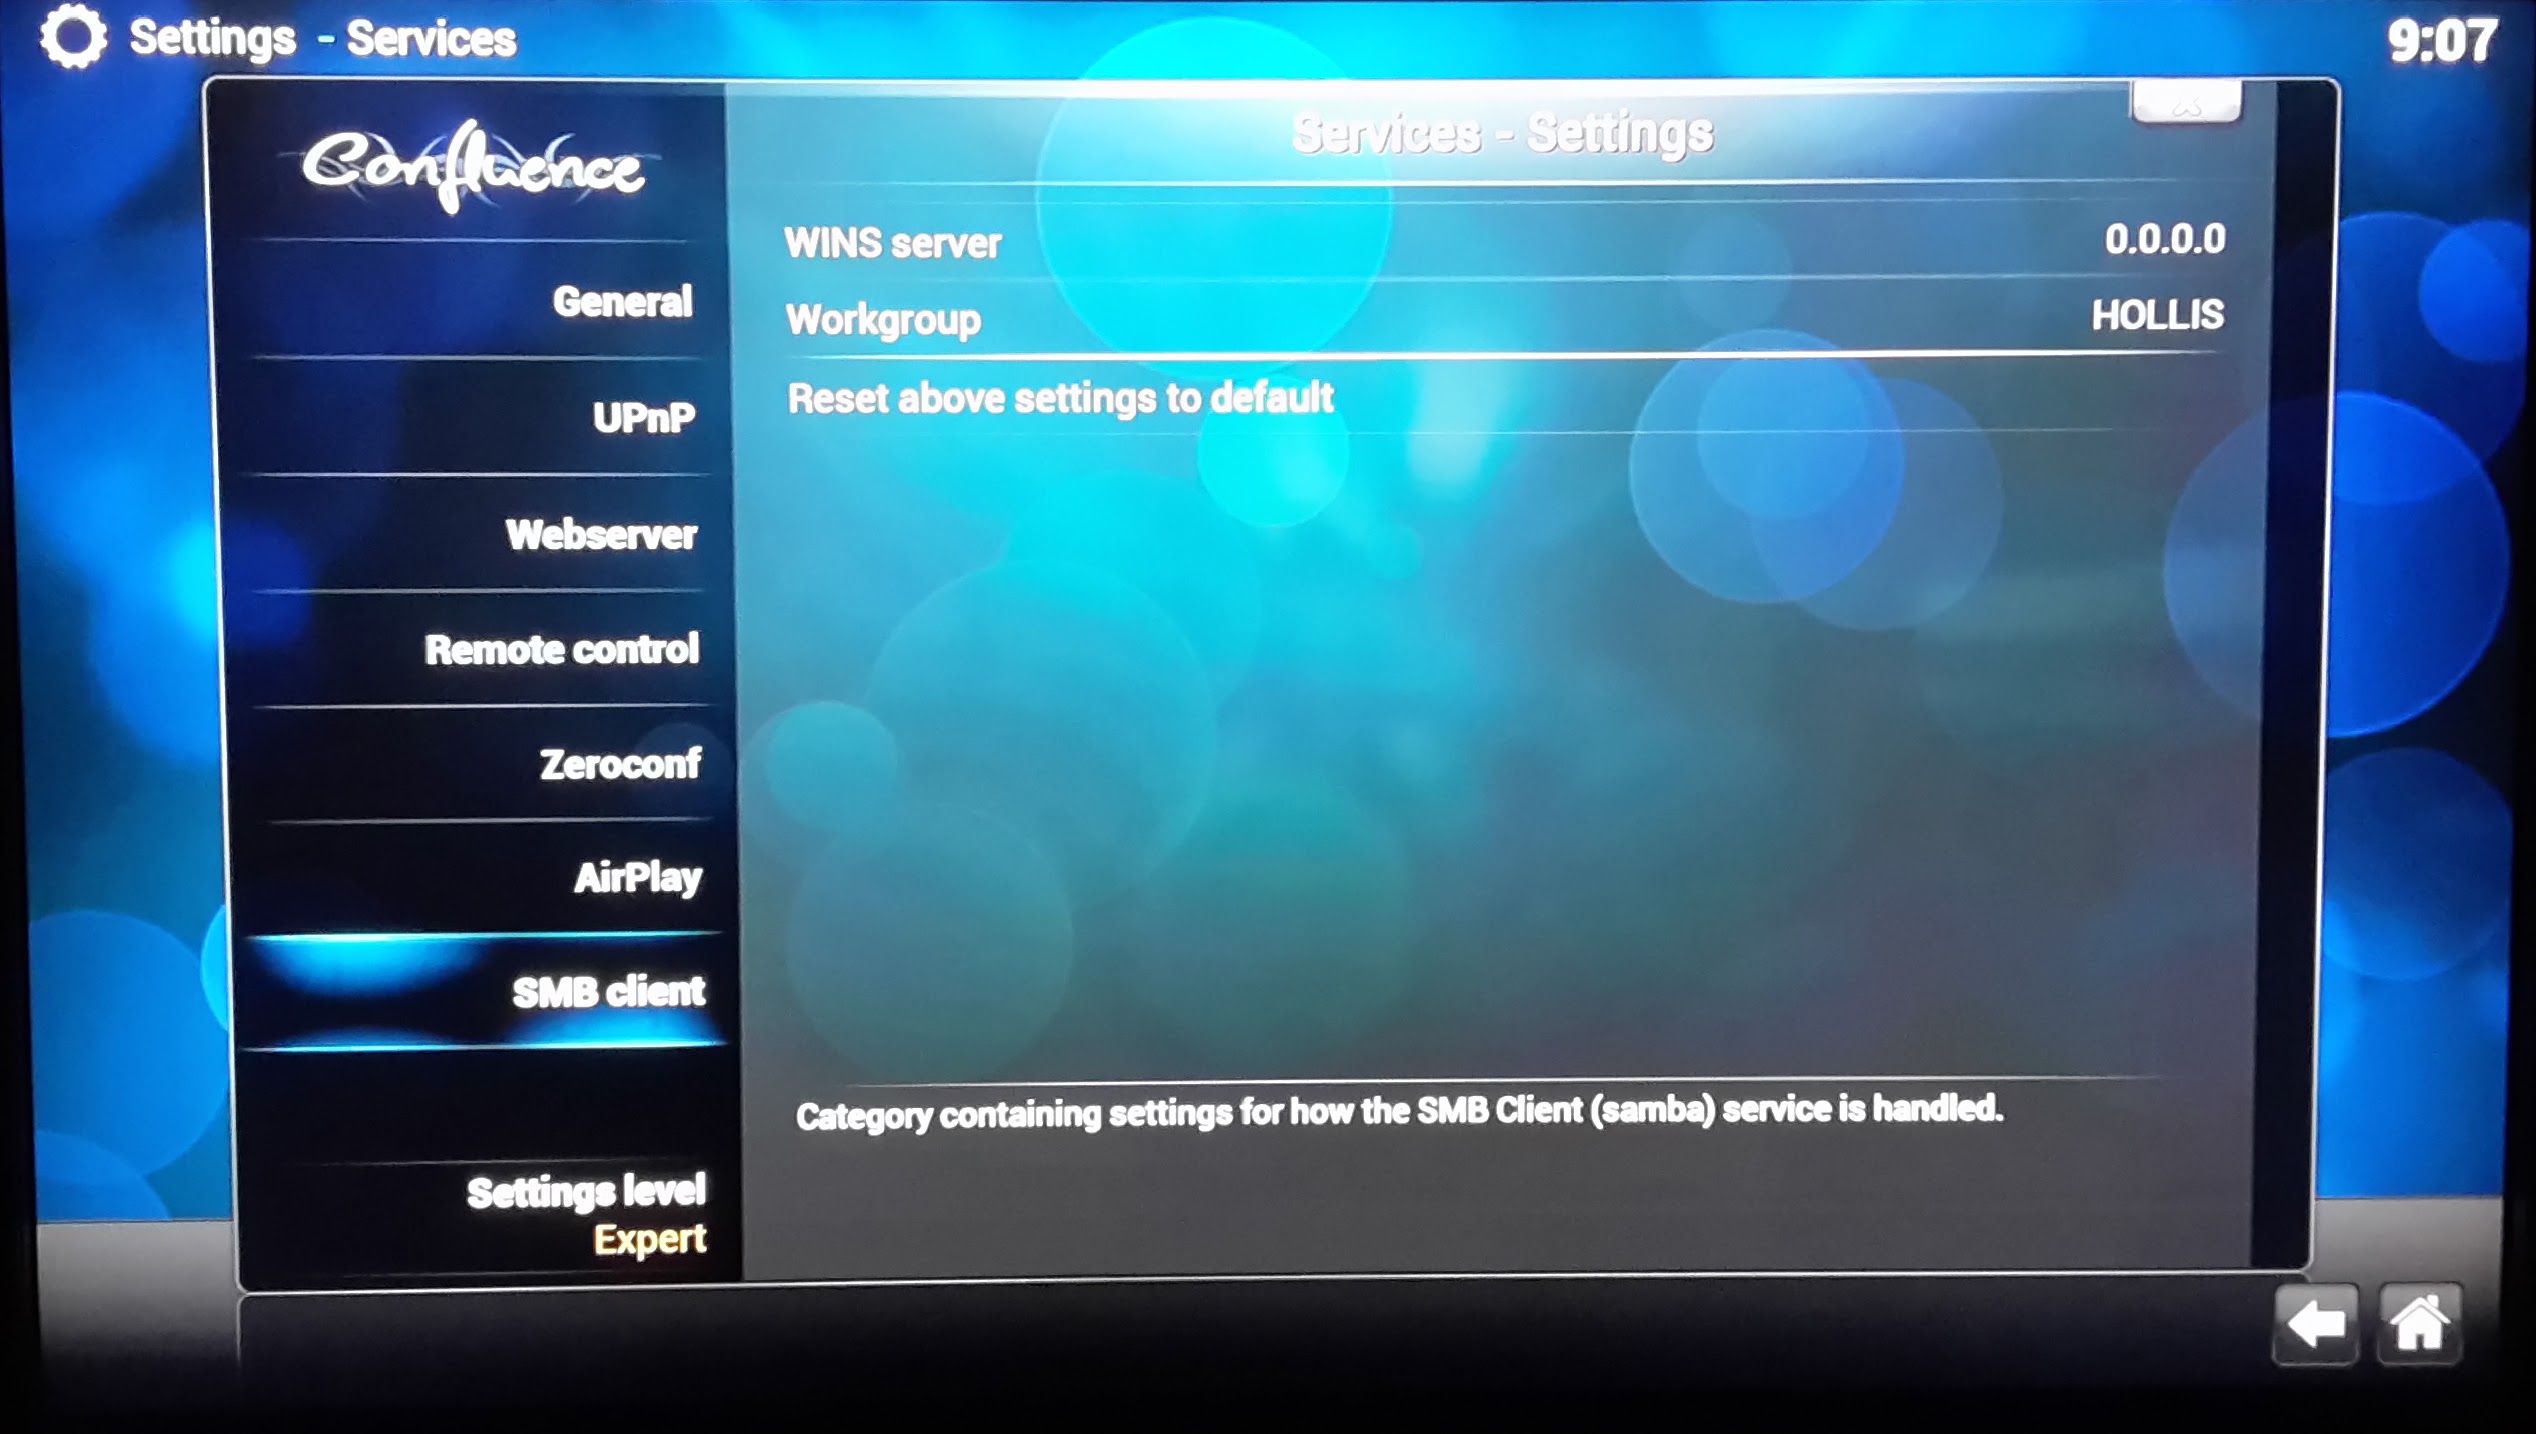
If you use a workgroup other than Workgroup you’ll need to tell the Pi about it before you search for your media.
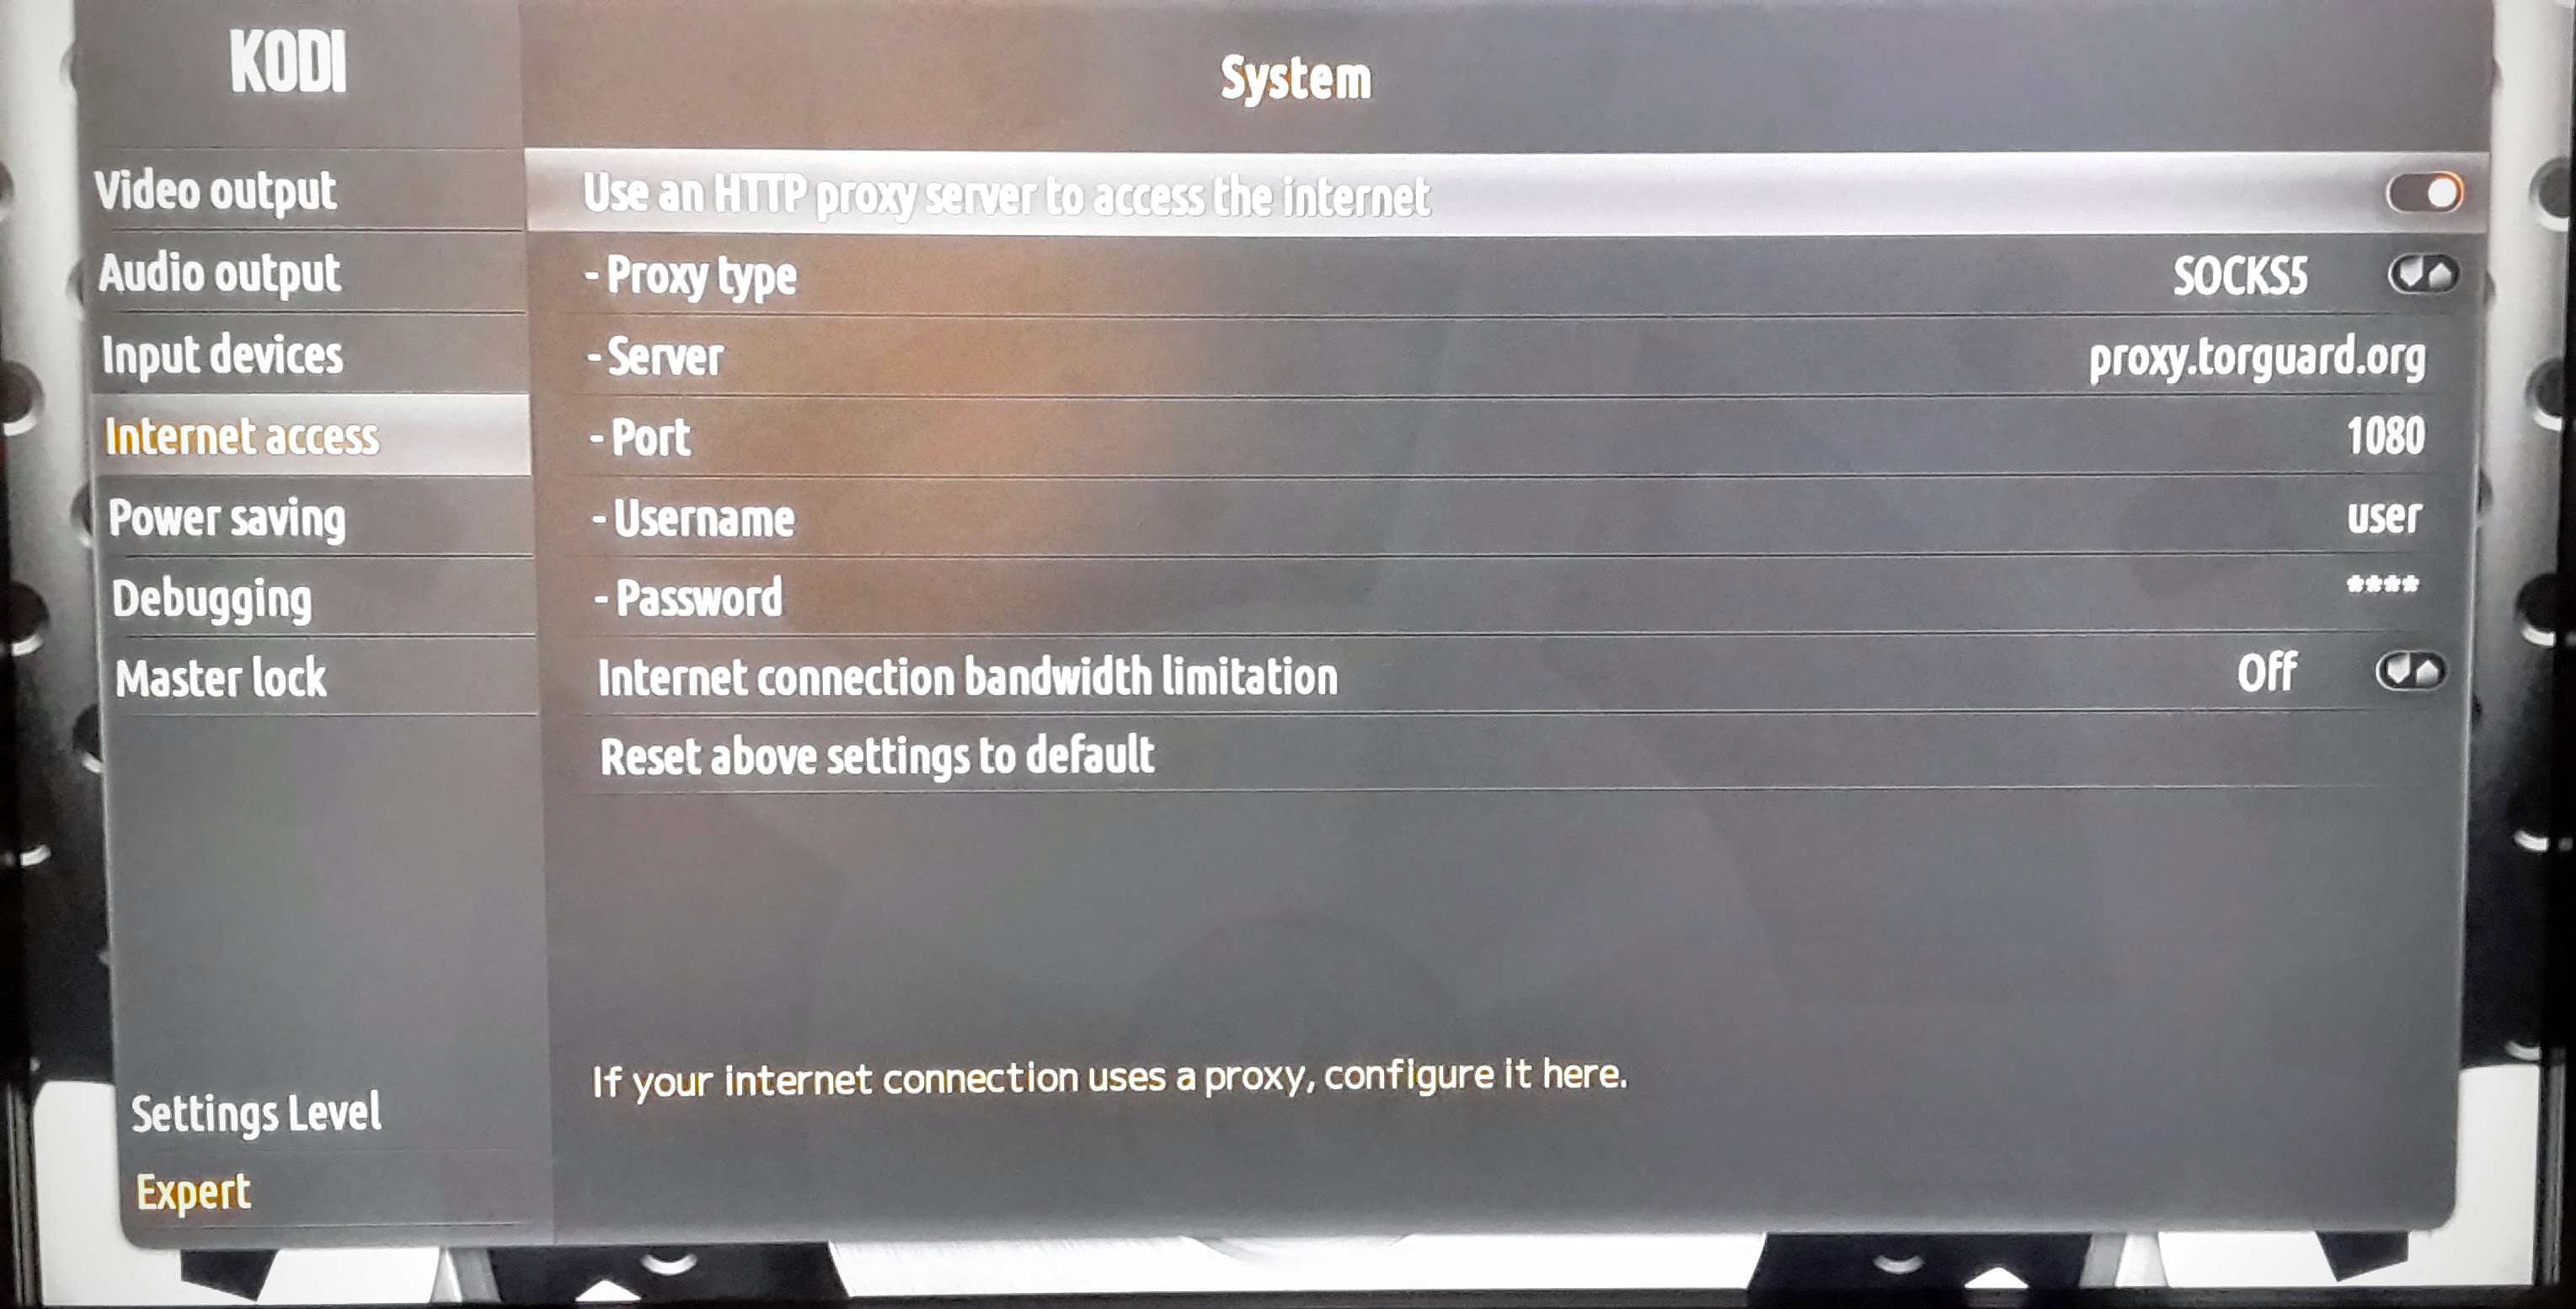
If you have access to a basic web proxy it would be a good opportunity to enter the details in the System, Internet Access section now. A full VPN setup might be a topic for a future article, as support is currently limited.
Tweaks
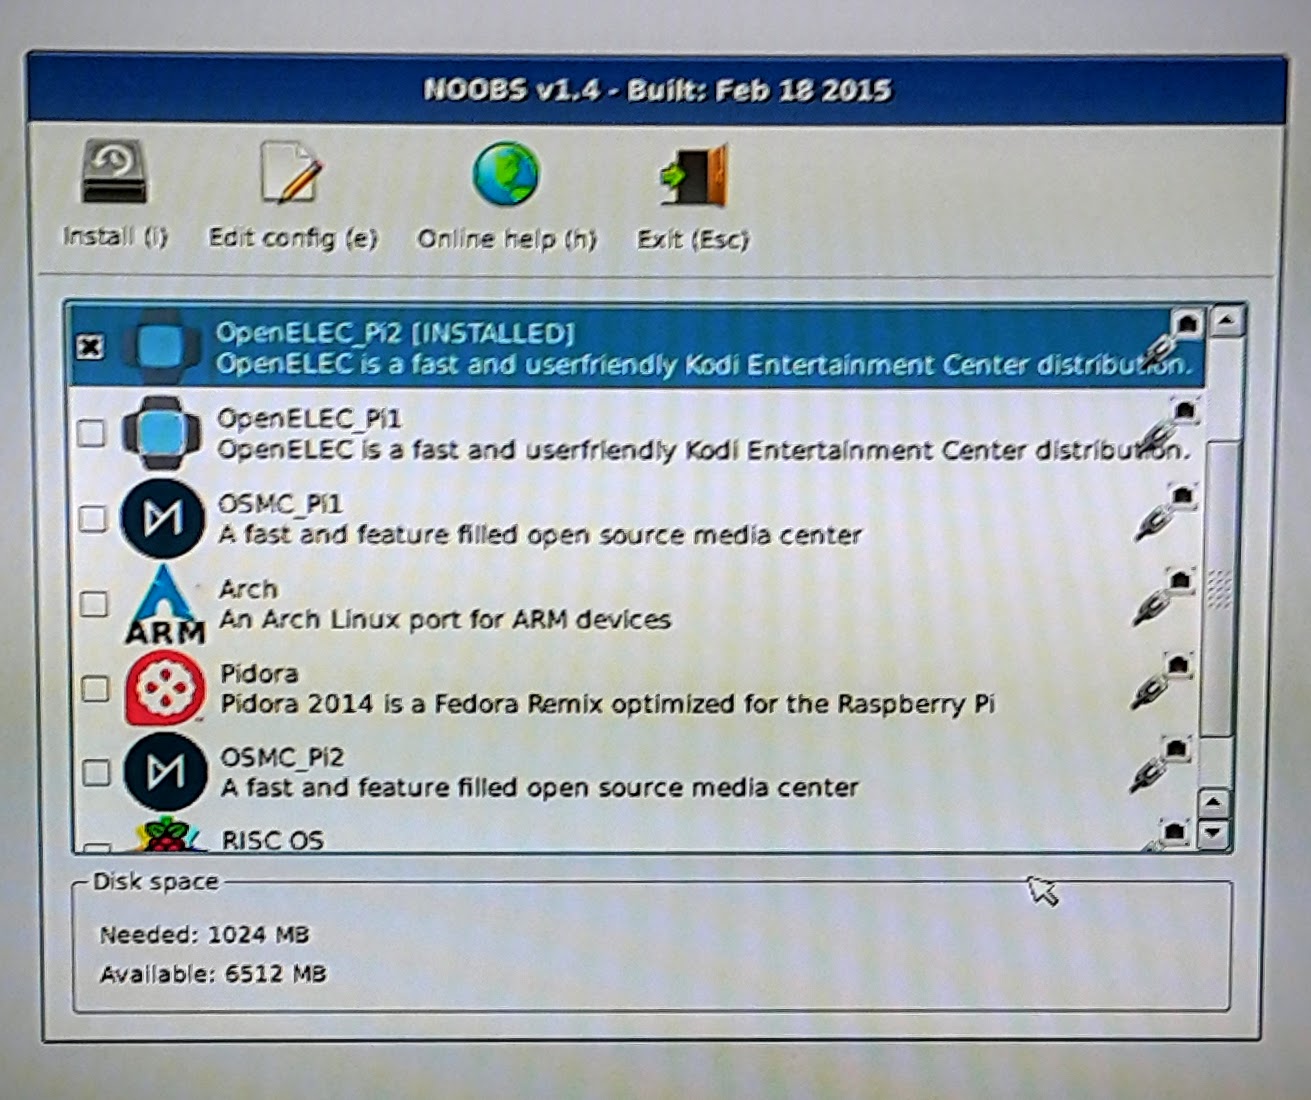
In order to tweak the settings, there are a couple of places you need to be able to edit files. One is on the memory card, visible to any regular PC you plug the memory card into, so that’s simple – but the other is only readable by the Pi inself, so that is why you chose (hopefully) to turn on SSH in the earlier guide. The other place that edits can be made is via the main NOOBs menu, before the OS boots, for that you’ll need a keyboard that works at boot time connected, as you need to press the Shift key to get into it.
The key files that can be edited are config.txt which be found in /boot on the only viewable part of the SD card when read by another computer, and advancedsettings.xml in ~/.kodi/userdata which can only be accessed by the Pi itself. To connect to the Pi use an SSH program like PuTTY and connect over the network using the Pi’s IP address and the default username and password combination of root/openelec.
Config.txt
As well as inserting the SD card into another computer, this file can also be found under /flash when connecting to the Pi via SSH, or by pressing E to Edit Config on the list of installed operating systems when booting the Pi and pressing Shift.
A guide to config.txt can be found here but you shouldn’t need most of it by default, the only thing I really needed it for was to add avoid_warnings=1 to remove the under-voltage warning symbol as described on this page. A decent power supply shouldn’t need this, and a really crap power supply will just cause the Pi to reboot or crash: I guess I just happen to have an in-between one. My file contains the following tweaks at the end:
  avoid_warnings=1
  decode_MPG2=[my MPEG2 code]
  decode_WVC1=[my WVC1 code]

  hdmi_drive=2
  hdmi_force_edid_audio=0
  hdmi_pixel_encoding=0
  hdmi_ignore_hotplug=0
  hdmi_edid_file=0
  sdtv_mode=2
  sdtv_aspect=3
  hdmi_ignore_cec=0
  disable_splash=0
  max_usb_current=0
Advancedsettings.xml
There a few settings recommended on this page in parts 7 and 8, my file is as follows:
<advancedsettings>
<loglevel hide="true">-1</loglevel>
<playcountminimumpercent>95</playcountminimumpercent>
<nodvdrom>true</nodvdrom>
<videolibrary>
        <cleanonupdate>true</cleanonupdate>
        <importwatchedstate>true</importwatchedstate>
</videolibrary>
<videoscanner>
        <ignoreerrors>true</ignoreerrors>
</videoscanner>
<video>
        <timeseekforward>15</timeseekforward>
        <timeseekbackward>-15</timeseekbackward>
        <subsdelayrange>240</subsdelayrange>
</video>
<network>
<buffermode>1</buffermode> <!-- Comment: Default is 1 -->
<cachemembuffersize>0</cachemembuffersize> <!-- Comment:
Default is 20971520 bytes or 20 MB -->
<readbufferfactor>4.0</readbufferfactor> <!-- Comment: Default
is 1.0 -->
</network>
</advancedsettings>
Overclocking
This is a reasonably safe operation if you have a decent heat sink like the one on the case described in the first part, but don’t go over the top, a modest overclock is fine in most cases. There is a guide to doing it via config.txt here, or you could just use an Add-on called OpenElec RPi Config to configure this, it is listed under Services and is either one of the standard ones or in the list I will introduce you to in the next section in which I discuss Add-ons in more detail.
Add-ons
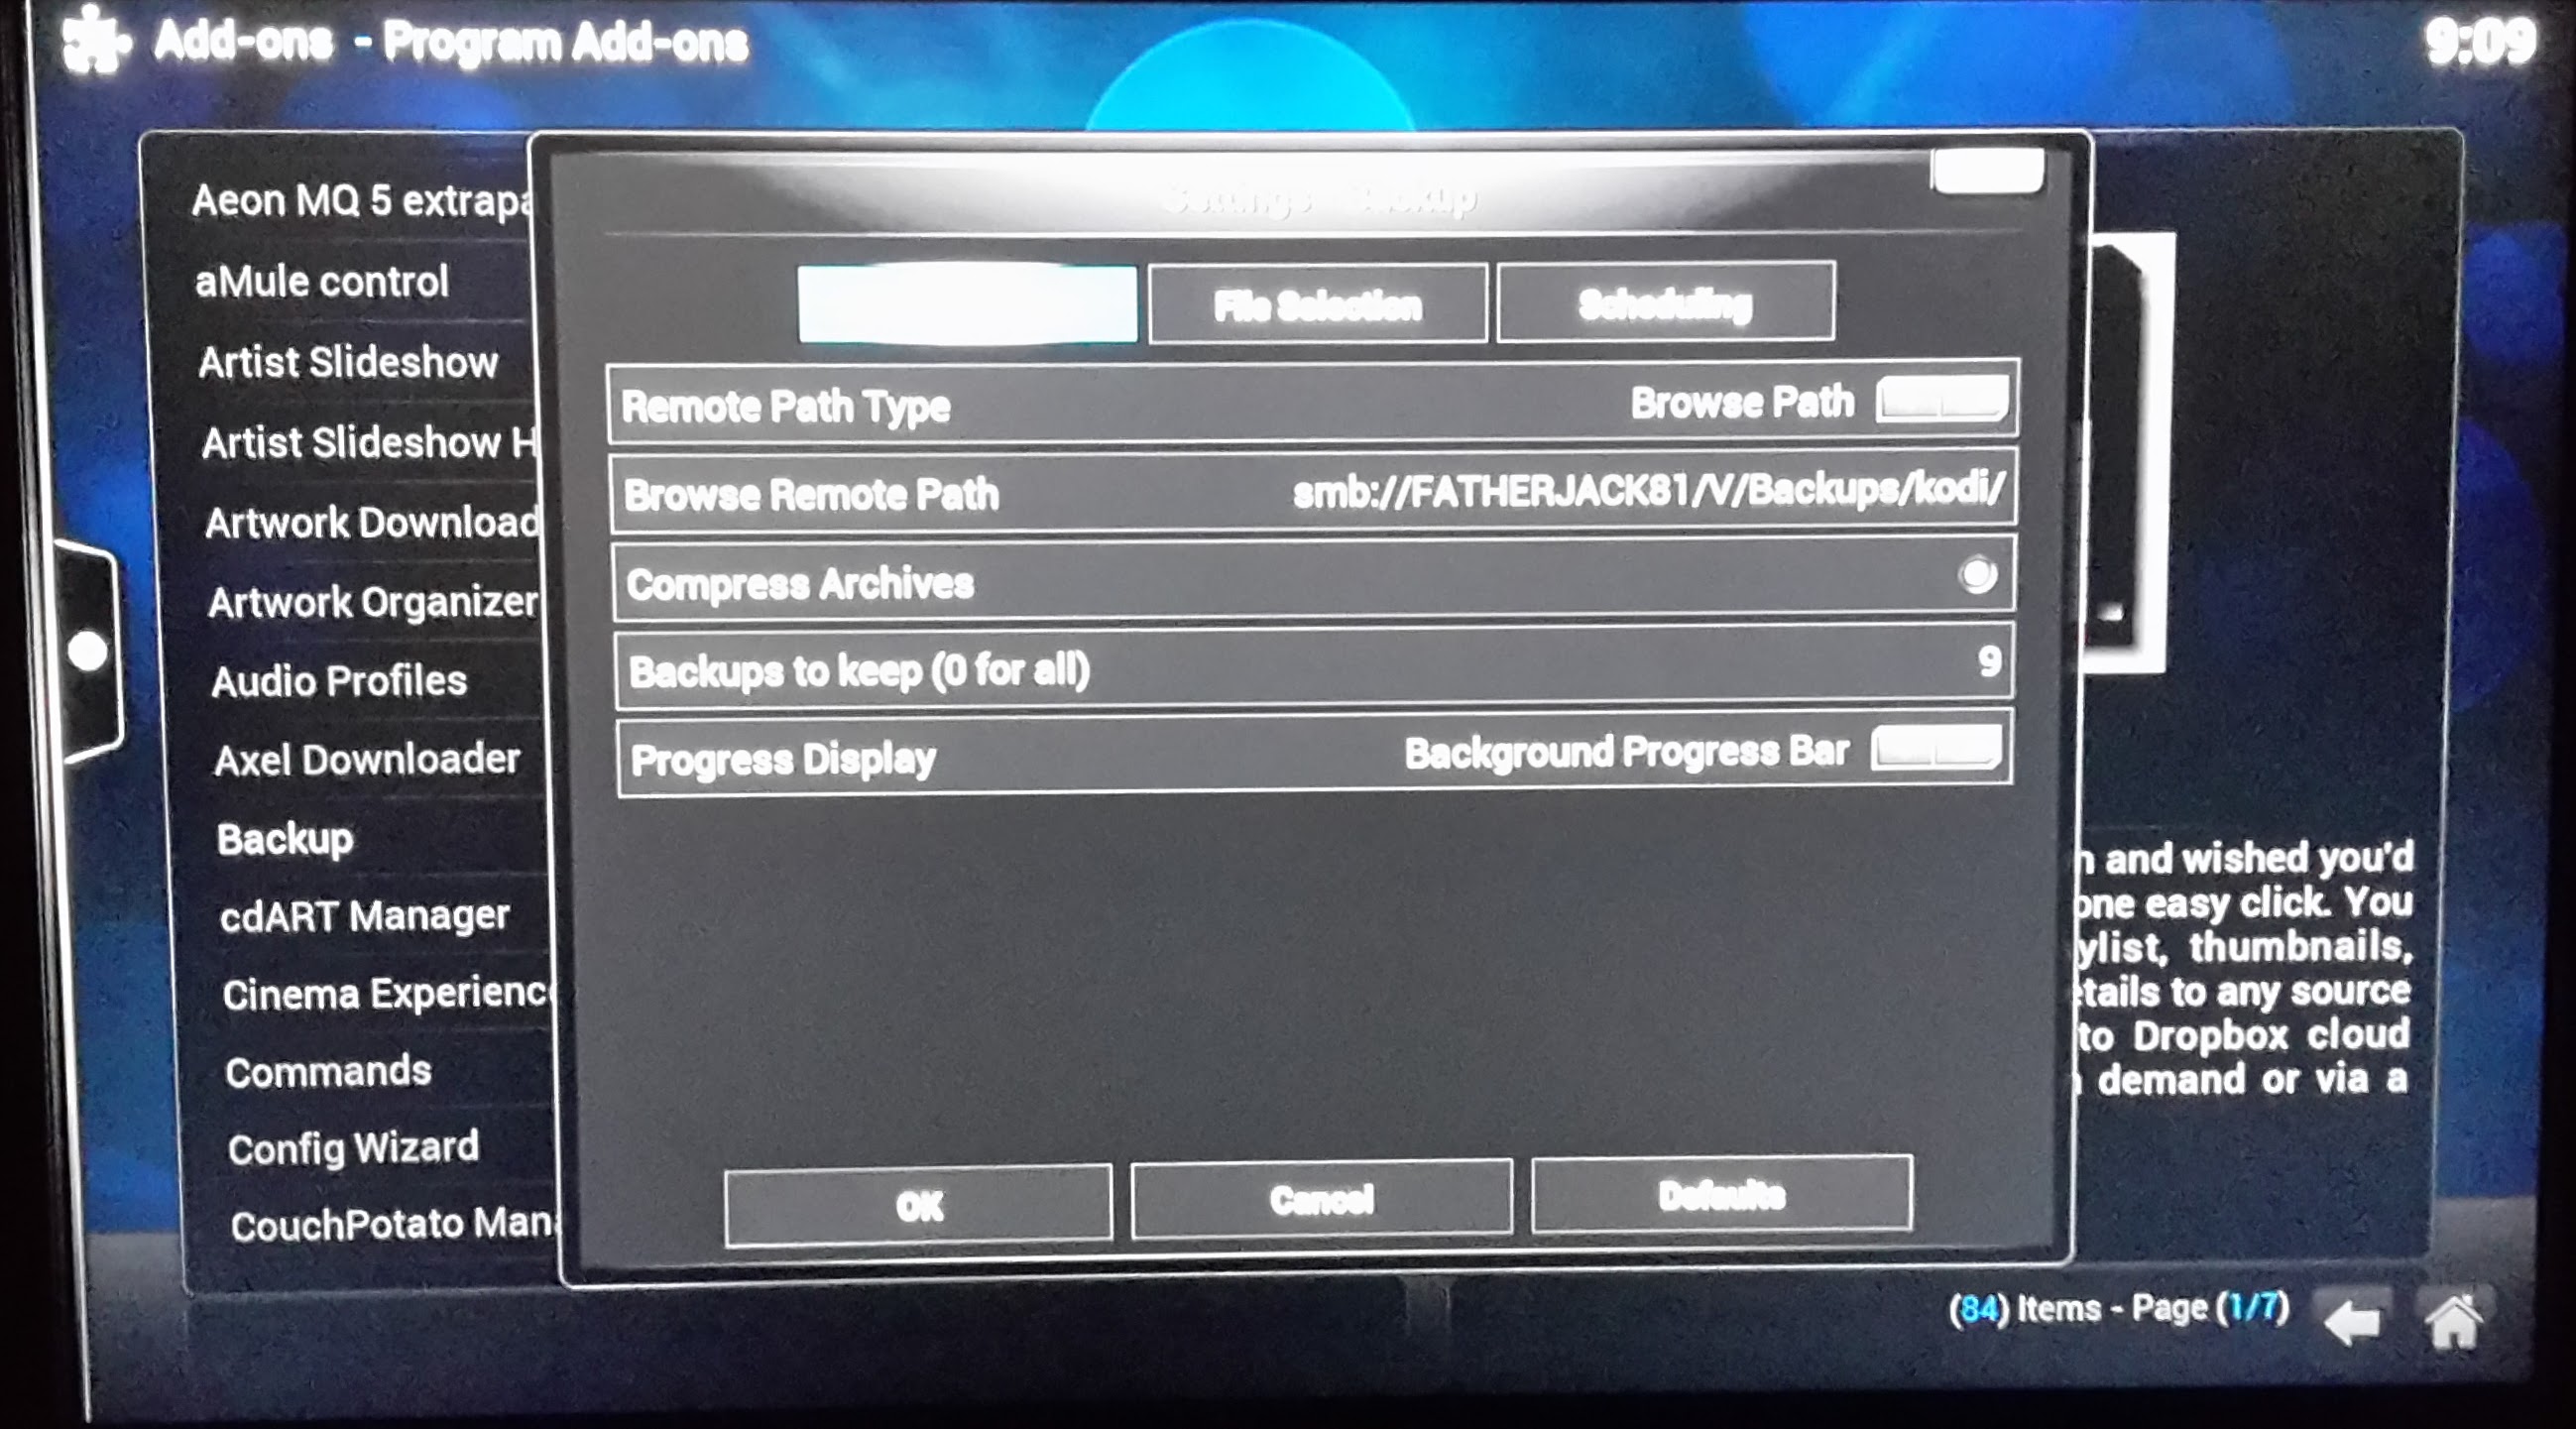
Add-ons are key to configuring Kodi, so you should add a simple, yet critical one first – Backup. This is part of the standard build, so you can find it under System, Settings, Add-ons, Program Add-ons.
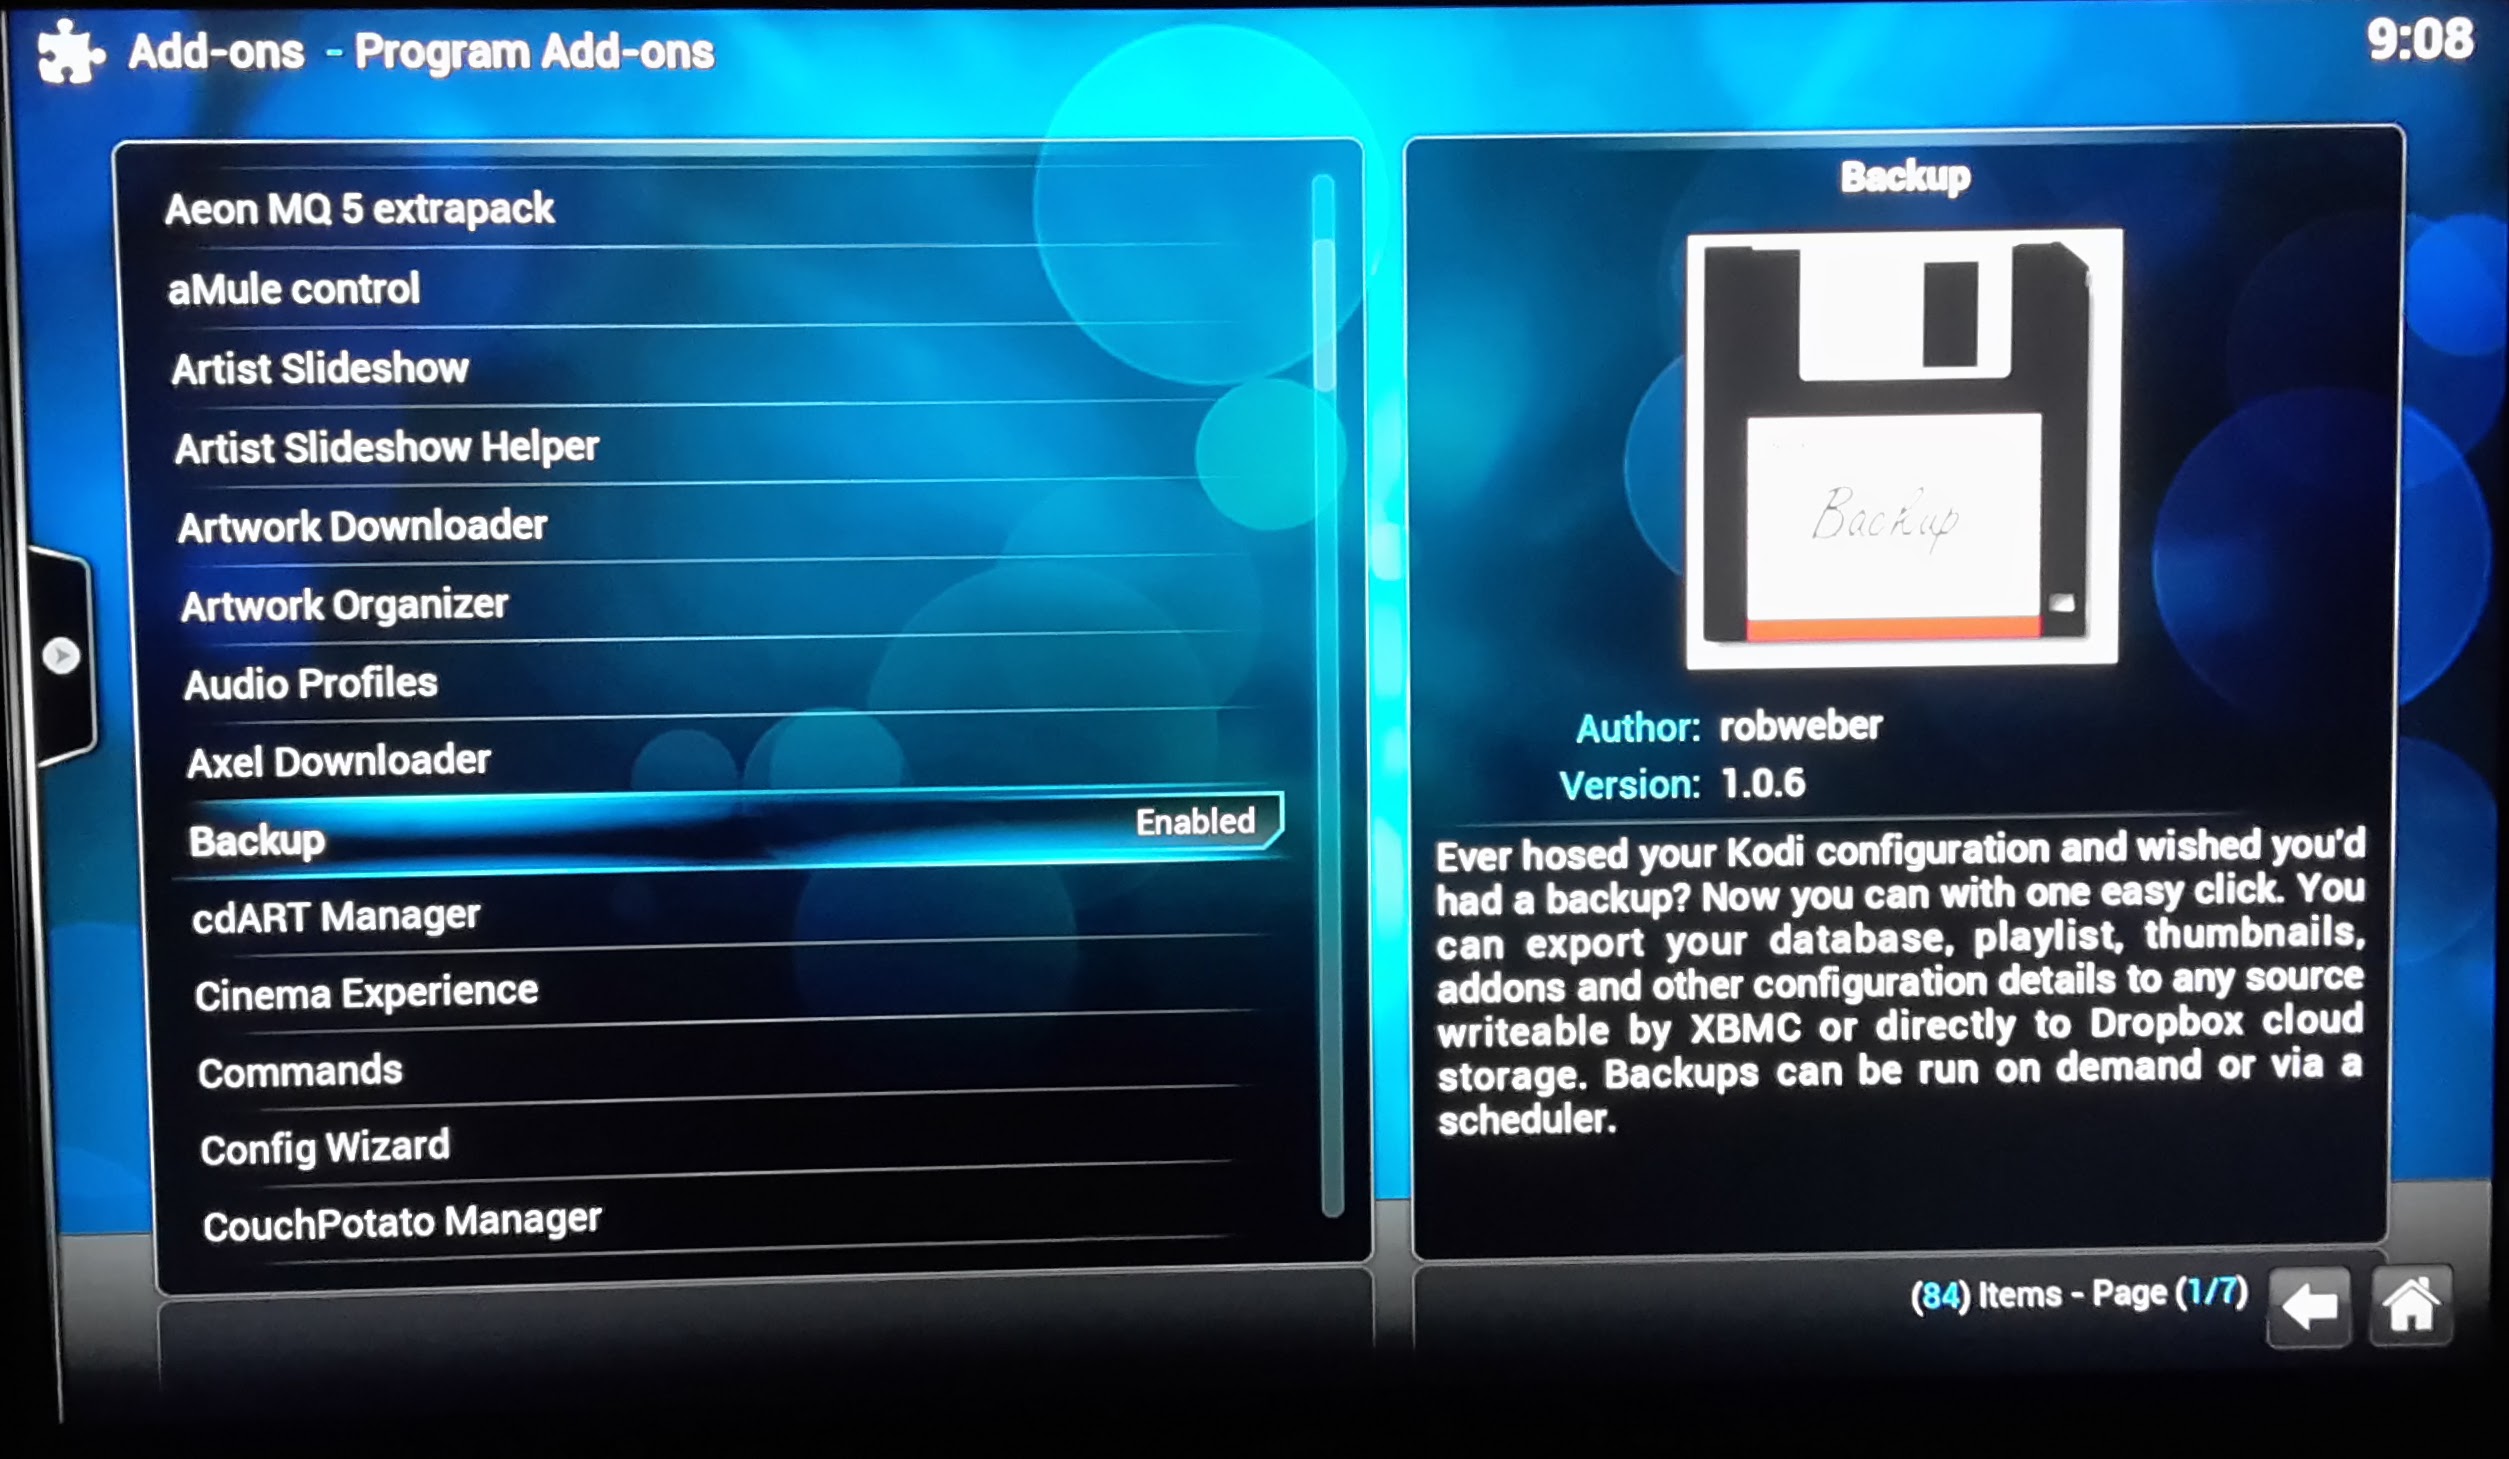
Navigating the menus will vary depending on your control method, and to configure add-on settings you have to open up a submenu, rather than click on them (which runs them). You can bring on the settings dialog by right clicking if using a mouse, or pressing the ‘C’ key if using a keyboard. In the Backup settings below I have browsed my local network and found a hard drive attached to a PC where I want to save the backups, you can use the same, an external USB drive plugged into the Pi, or network storage. There isn’t really enough space on the internal SD card, so you will need at least one of these.
Run the backup and check on the storage that it has worked correctly which should prove that the Pi is able to read and write from the drive. The backup will be quite small to begin with, but will grow as you add more media, as it creates thumbnails and can add descriptions, artwork and actor information to your media library.
Remember kids
Only download content for which you own the rights.
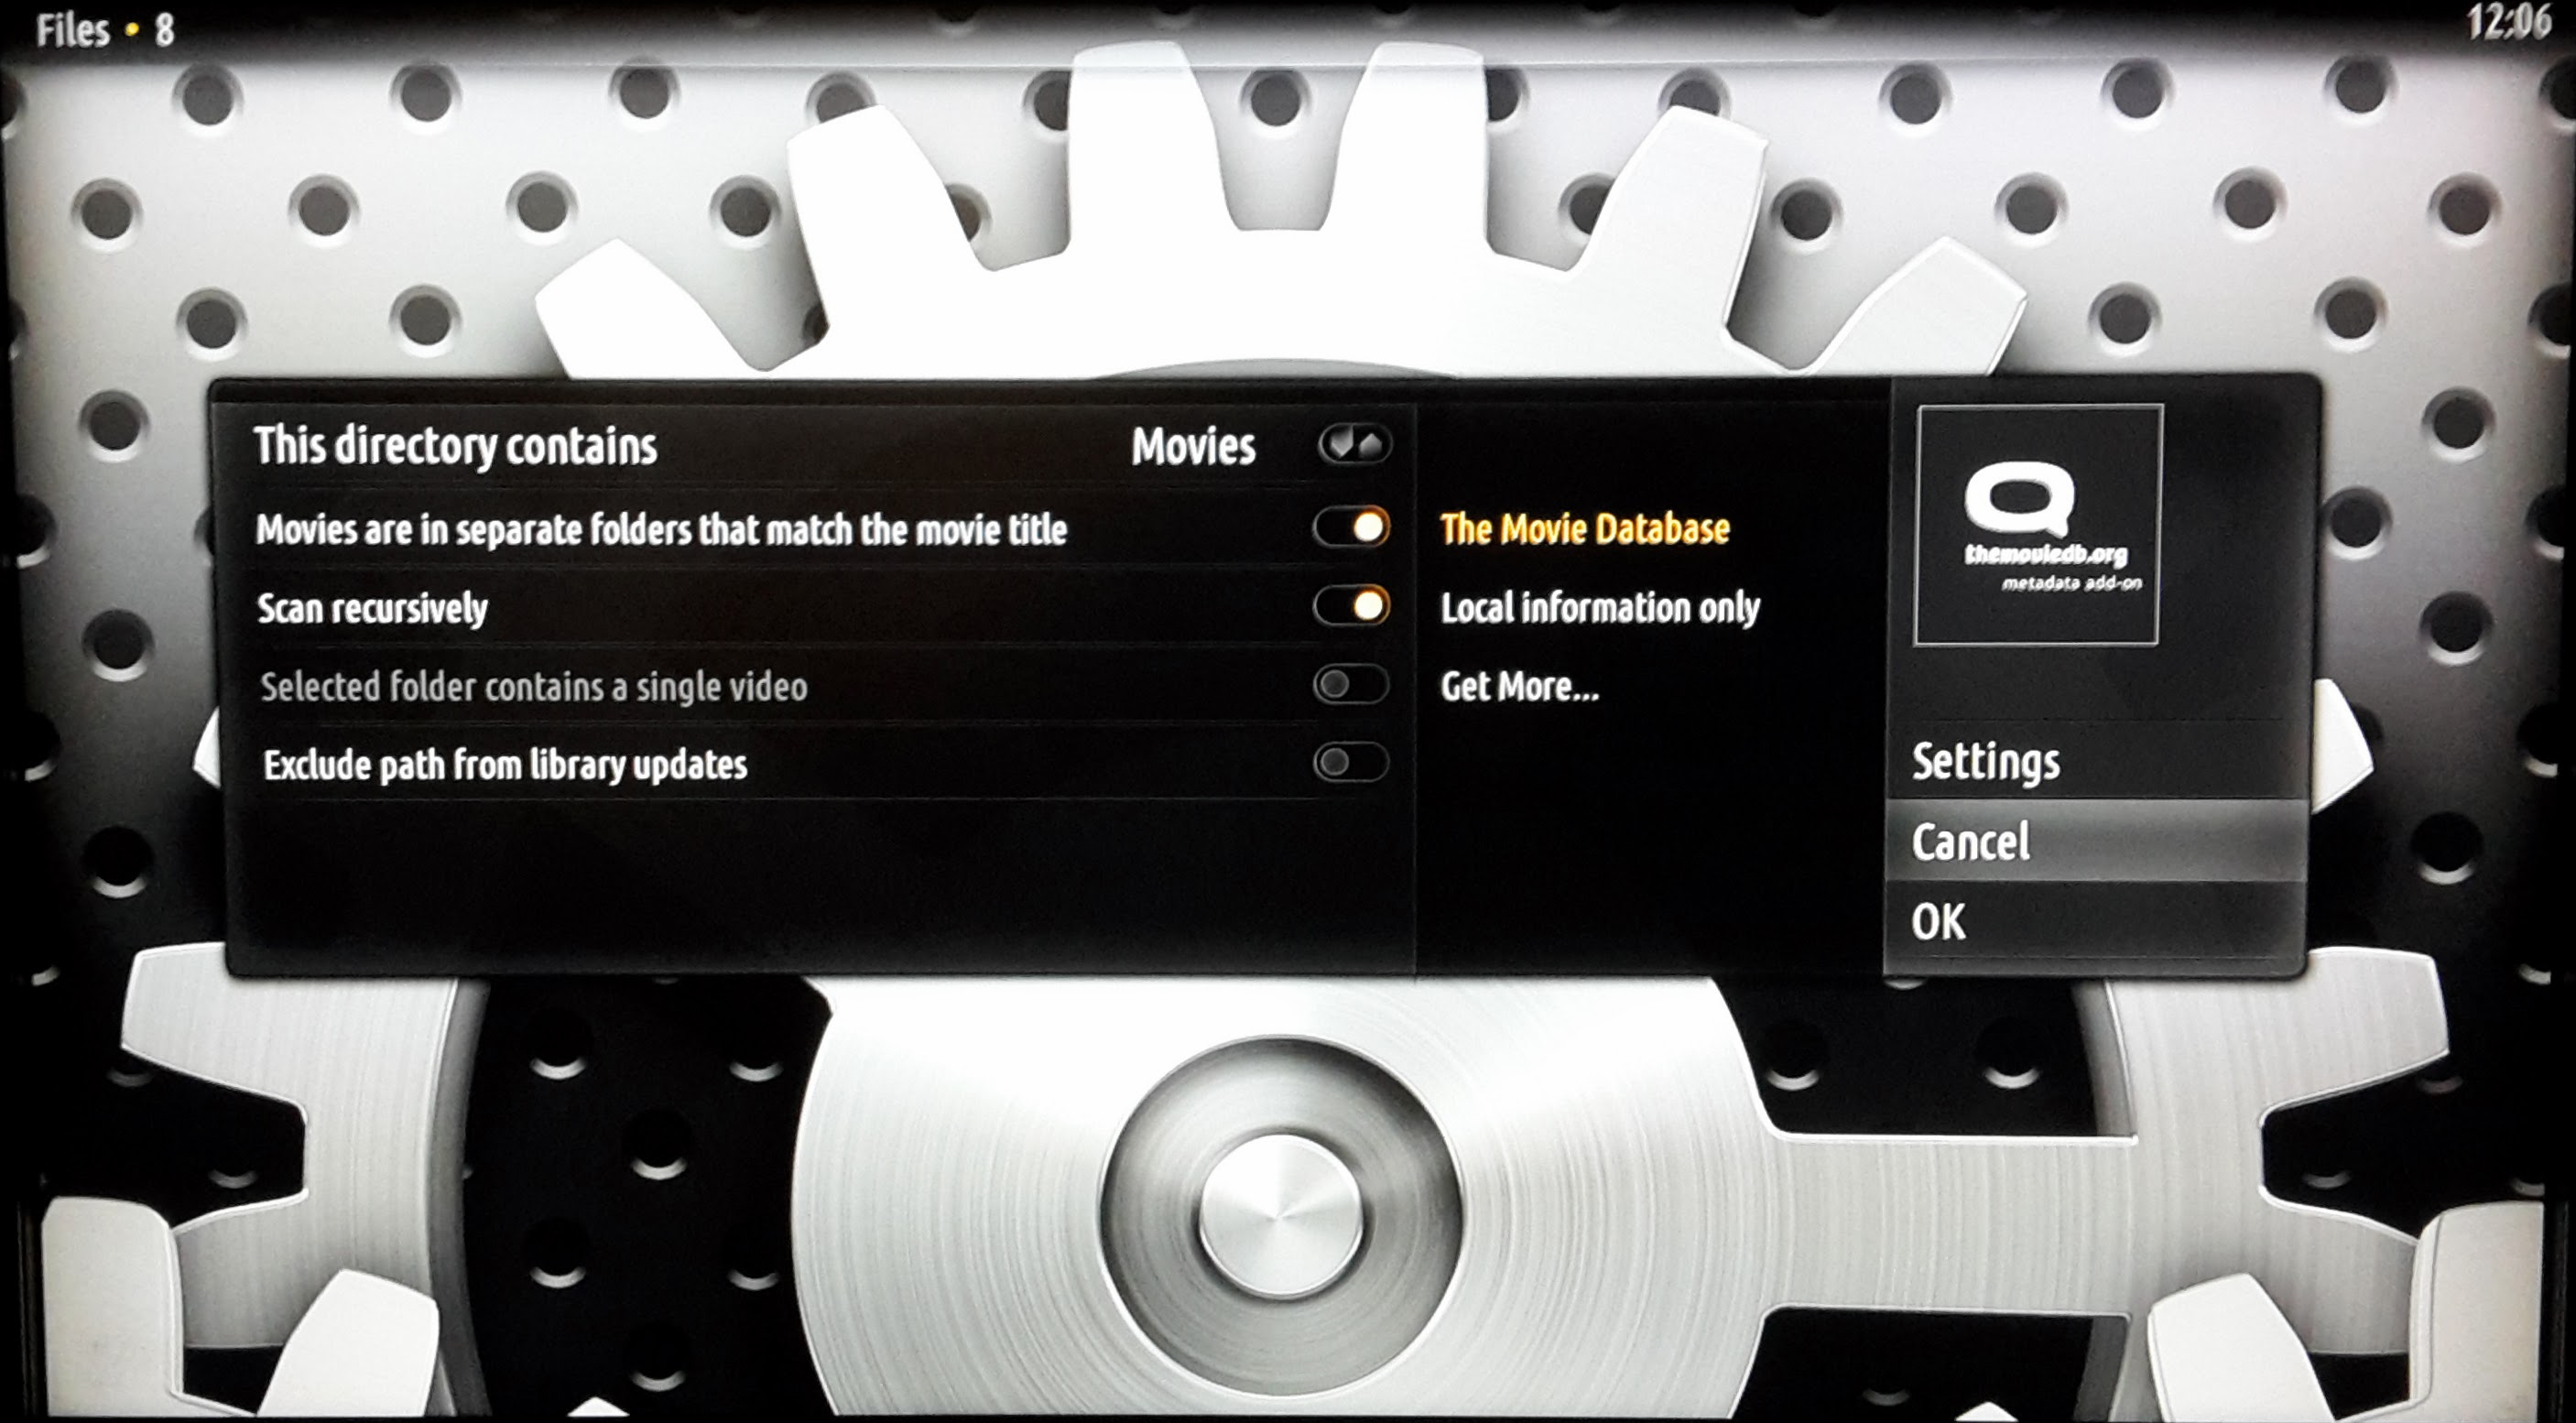
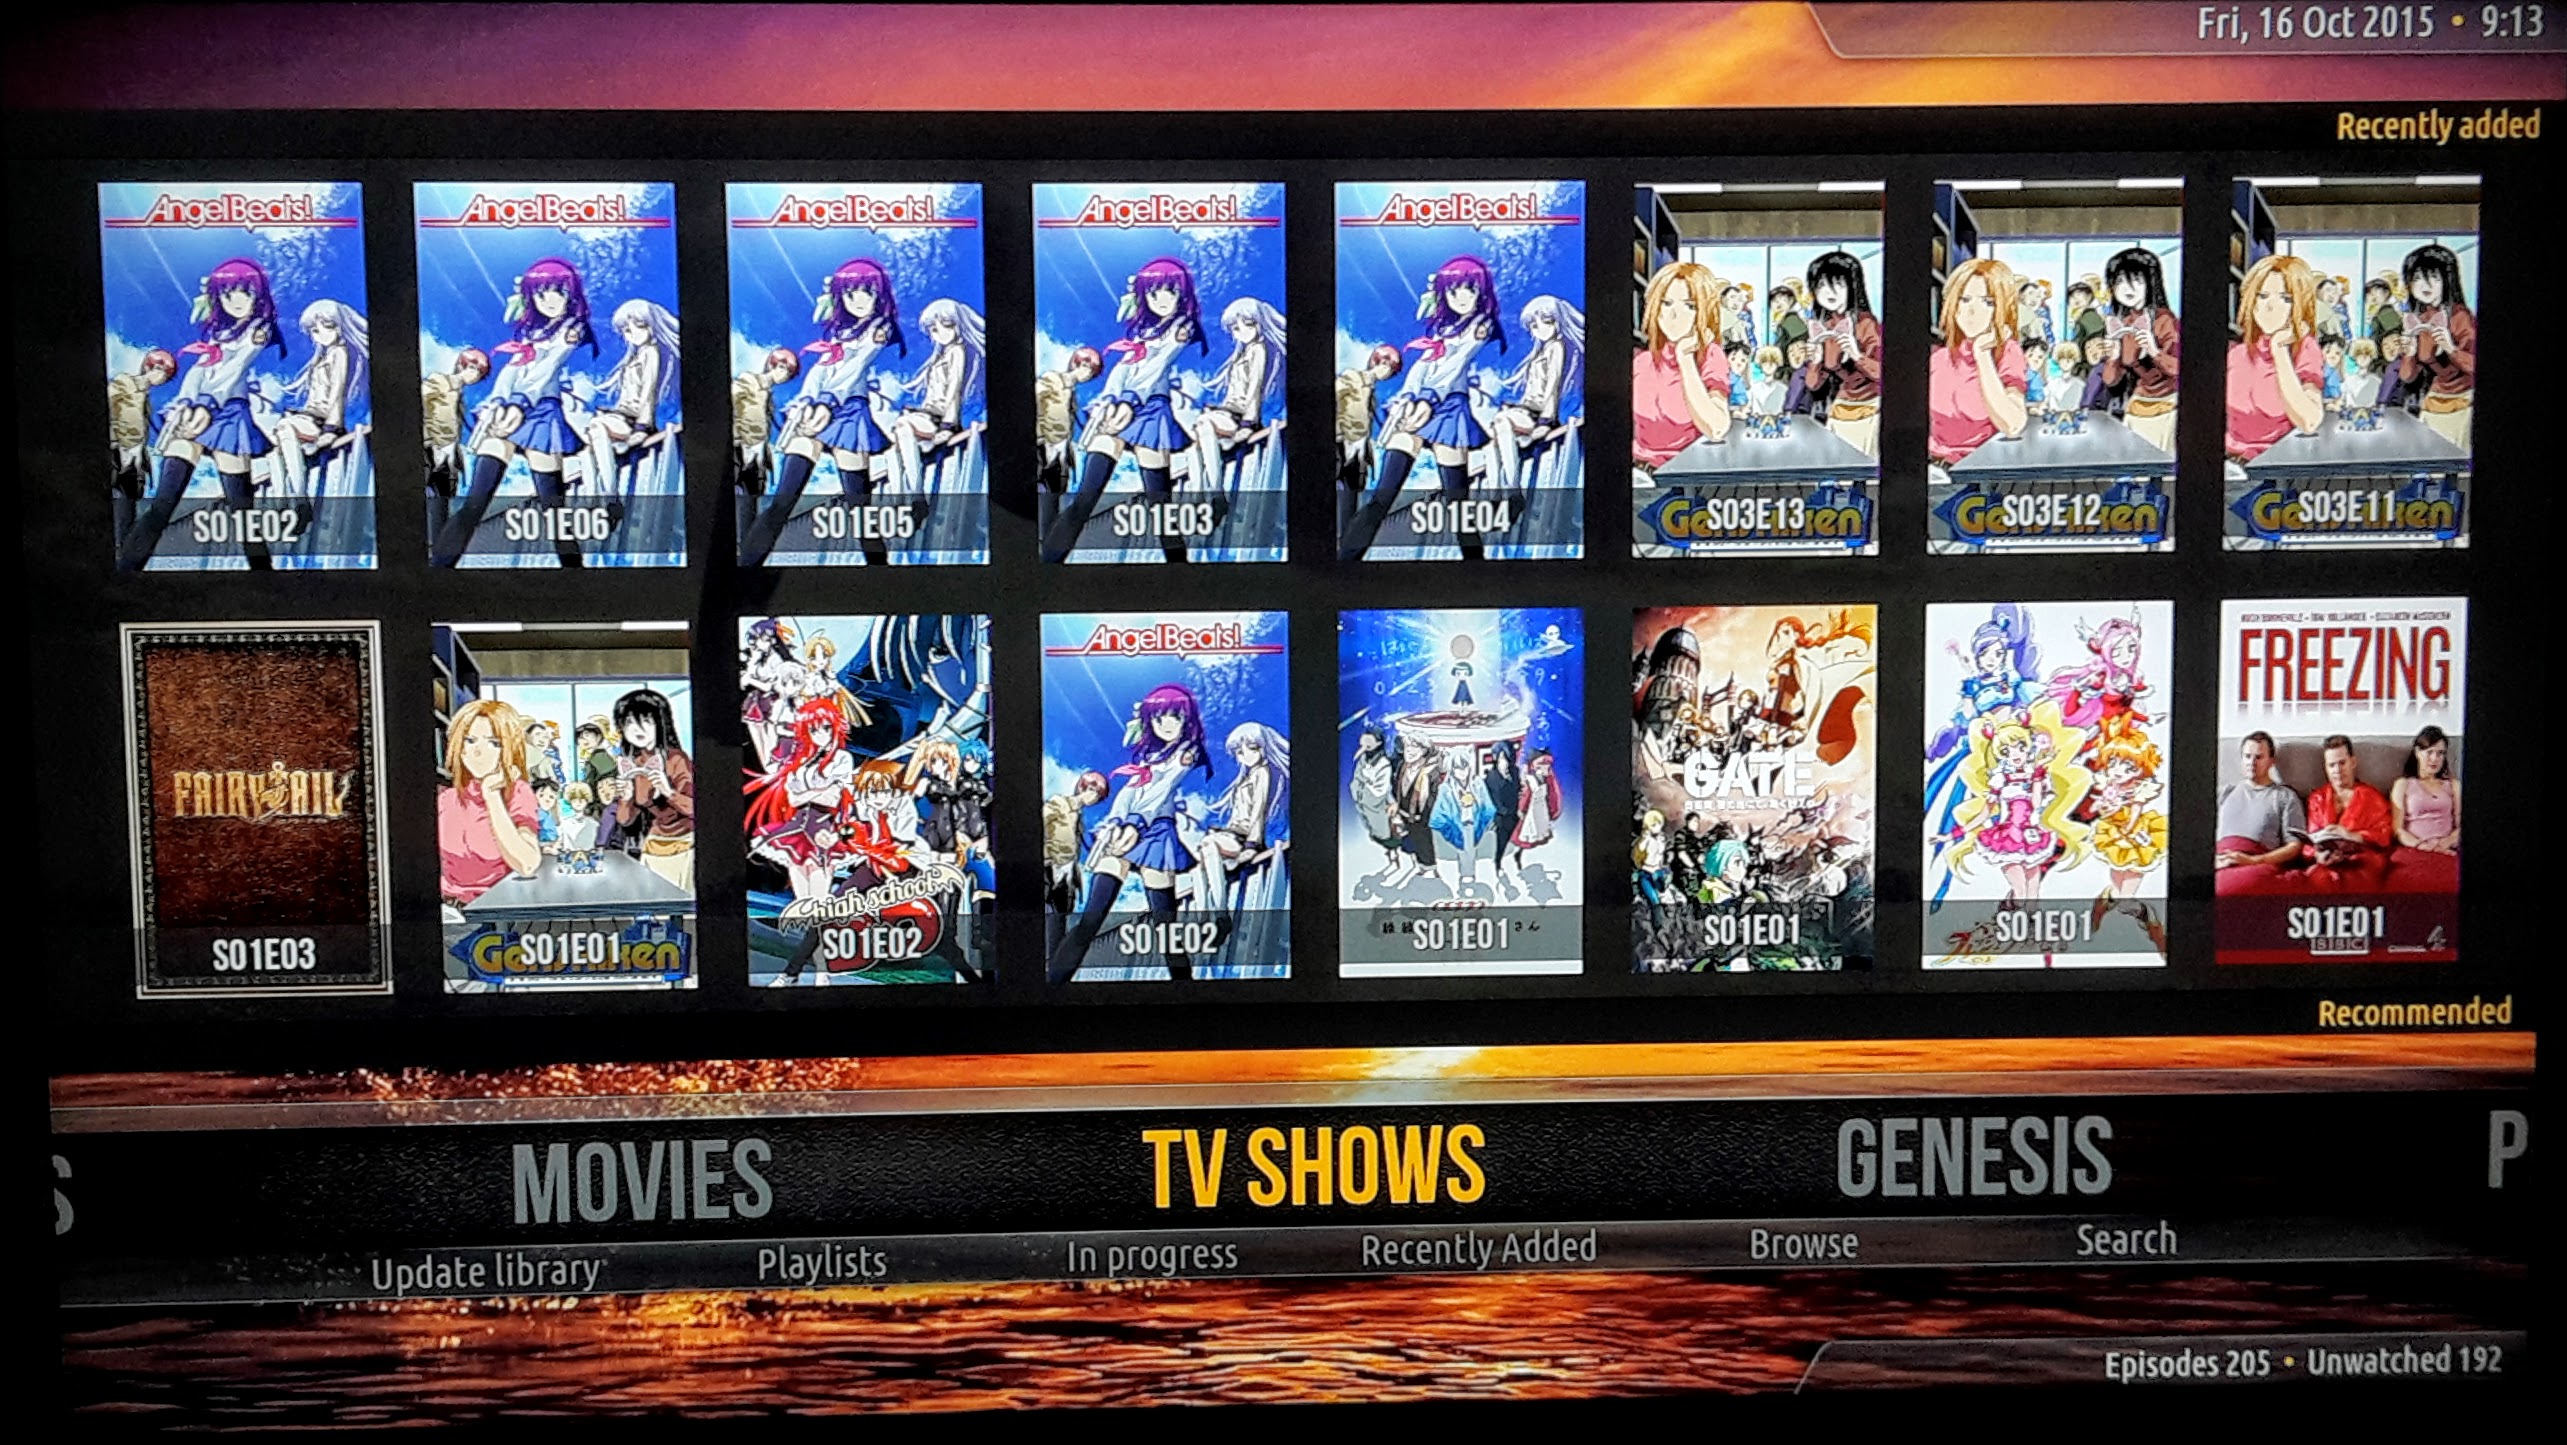
You can use the same method to start adding media through the Video main menu option if you want, this is a pretty basic operation: you add the directory where the files are, then optionally tell Kodi whether the files are Movies or TV Shows so it can gather information about them.
Lets try adding some more interesting add-ons, the first of which is a Skin. I like one called Amber and it can be selected in the Skin section of the Settings menu. Amber has options to display more titles on the screen, which is why I like it.

One thing Skins can also do though is to move some menu items around, so it can be tricky to find some things, for example the File manager in Amber is now on the right-hand side of the Settings screen.
This is useful to know, as we are going there next to install some more interesting addons that you won’t get through official channels. To save having to keep typing paths, in File manager you can Add source and it should be available when browsing in future.
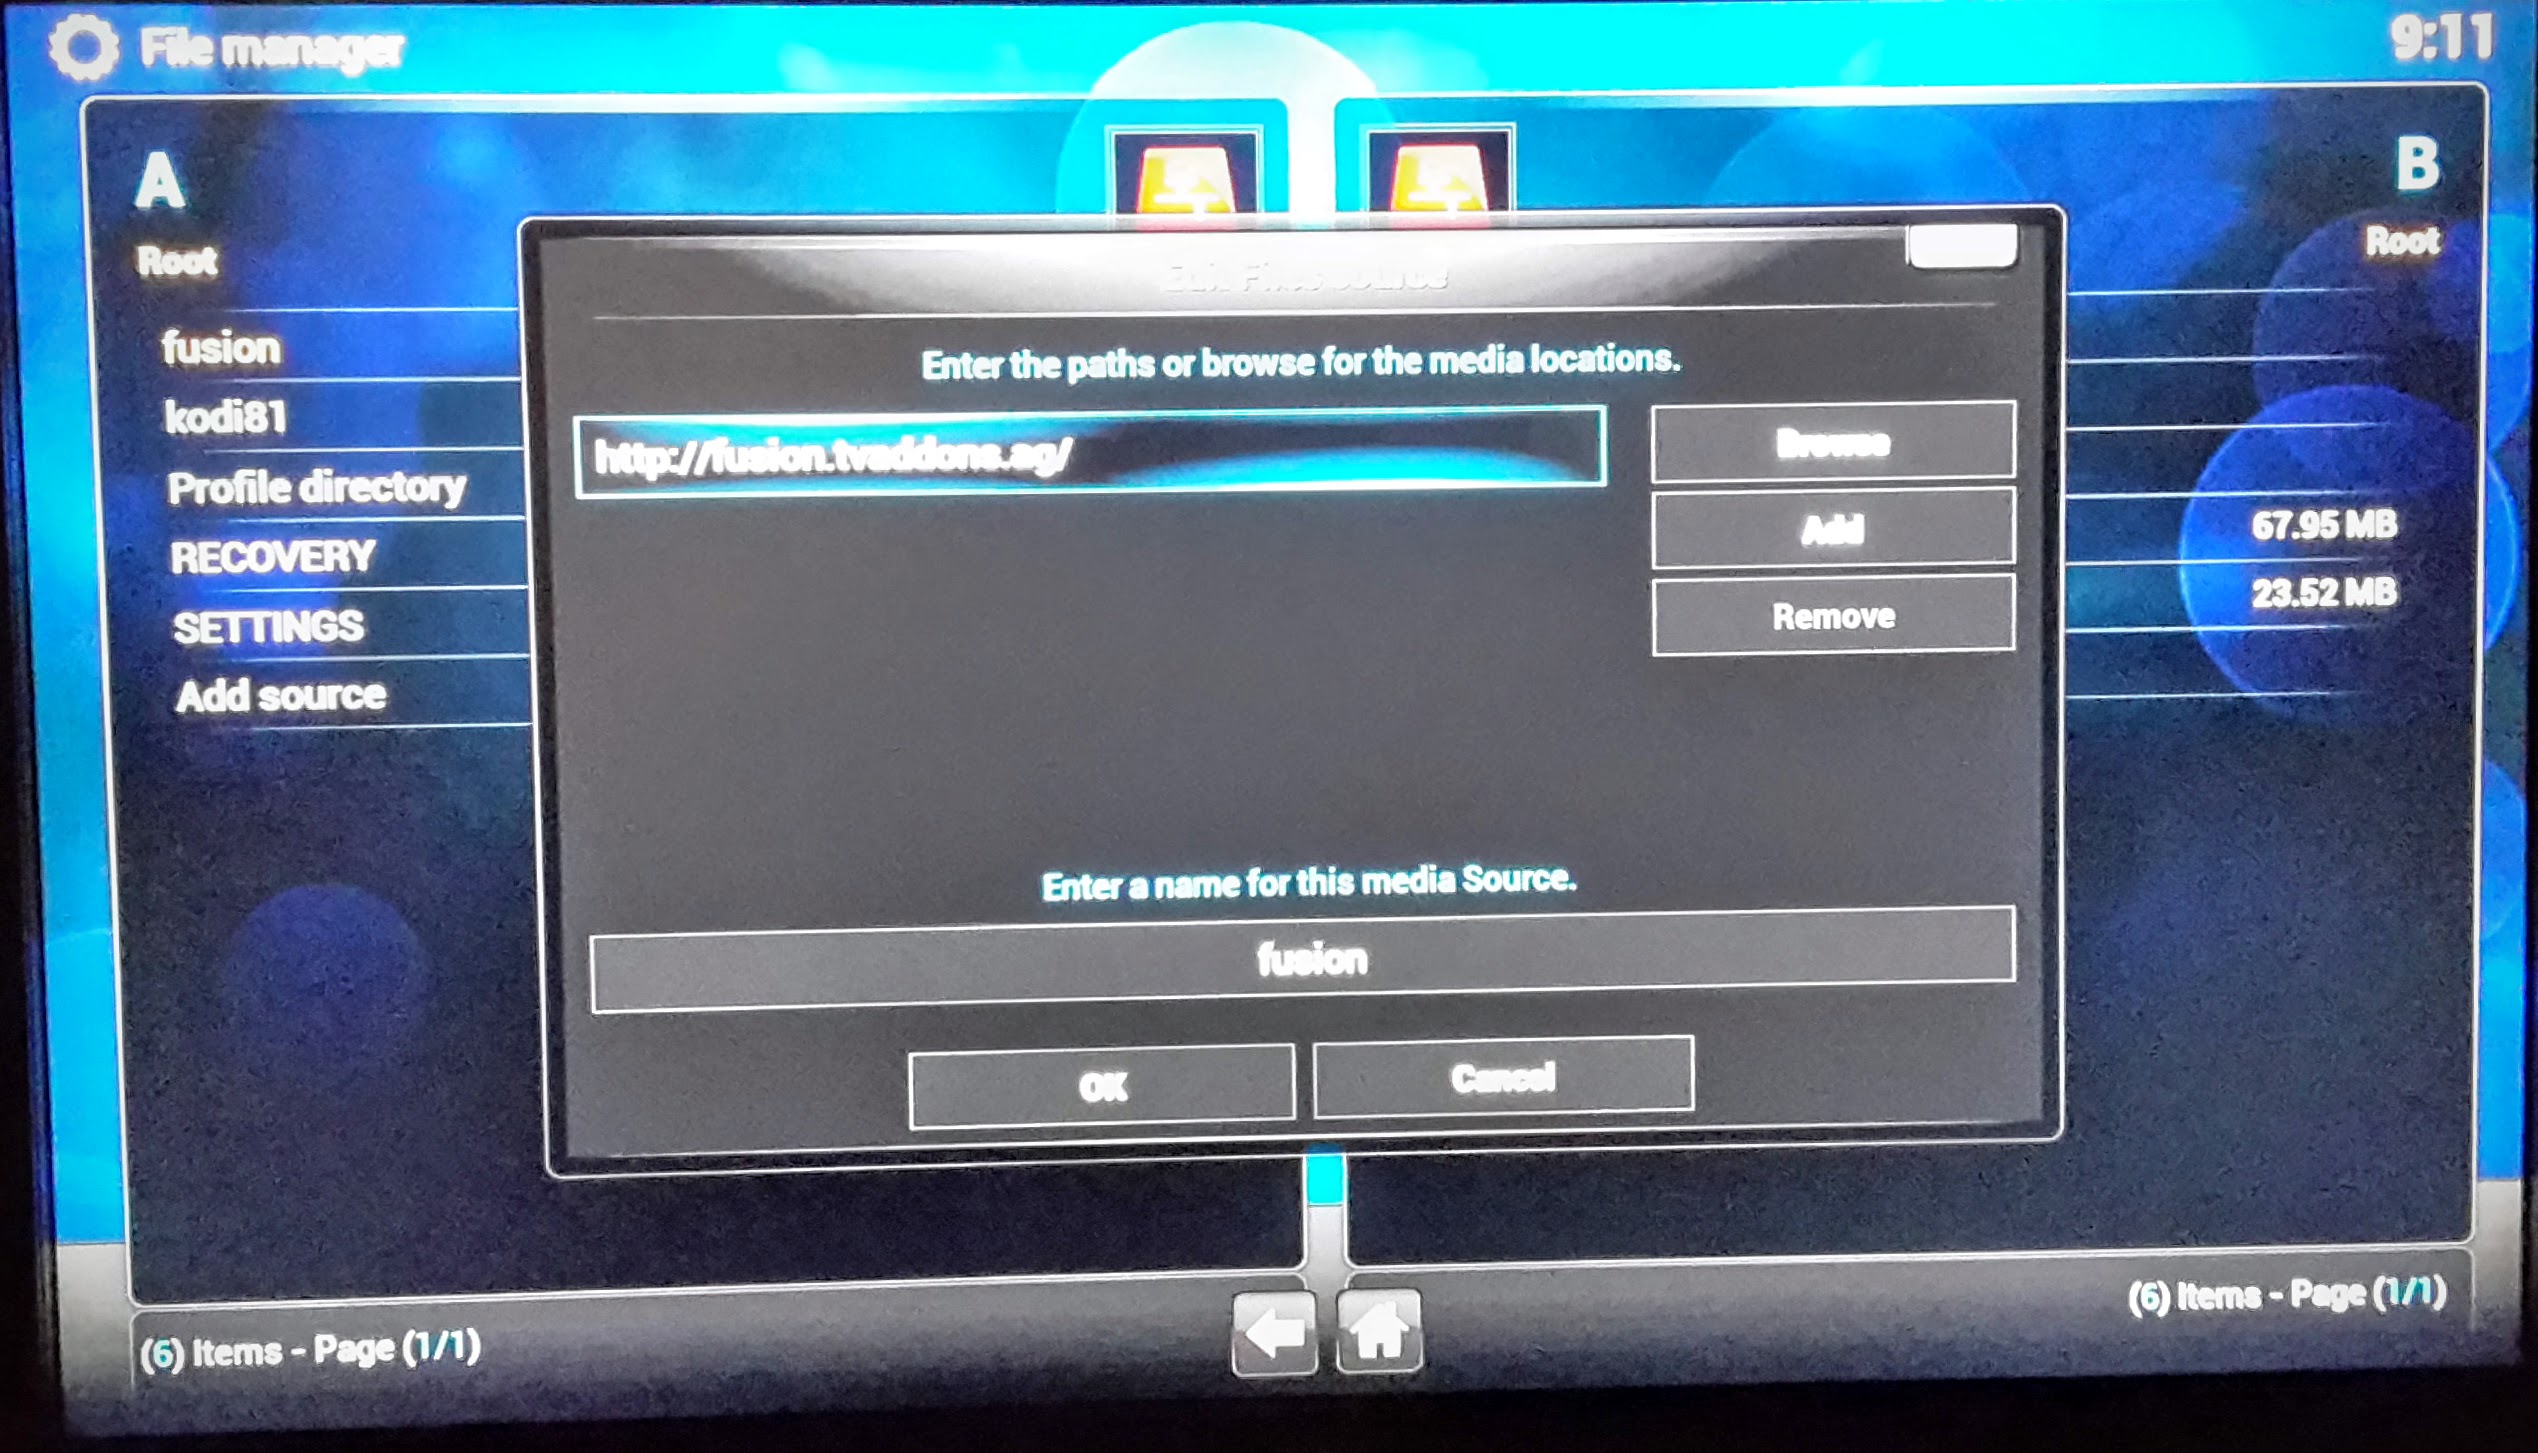
Add http://fusion.tvaddons.ag/ as a source, then within Add-ons, Programs install a new add-on, browse to the new source and in the /start-here subdirectory install the plugin.program.addininstaller.zip – which makes adding further addons easy, just select the Add-on installer from the Programs menu and it automatically manages things like repositories for you.
Add-on recommendations
The list you are presented with in the new add-on installer can be overwhelming at first and it’s tempting to try installing everything, but to avoid slowing down the Pi and having duplicate or non-functional add-ons I would advise you to start slowly. Here are a few I commonly use depicted in my favourites list, but the chief among them are Genesis and Phoenix.
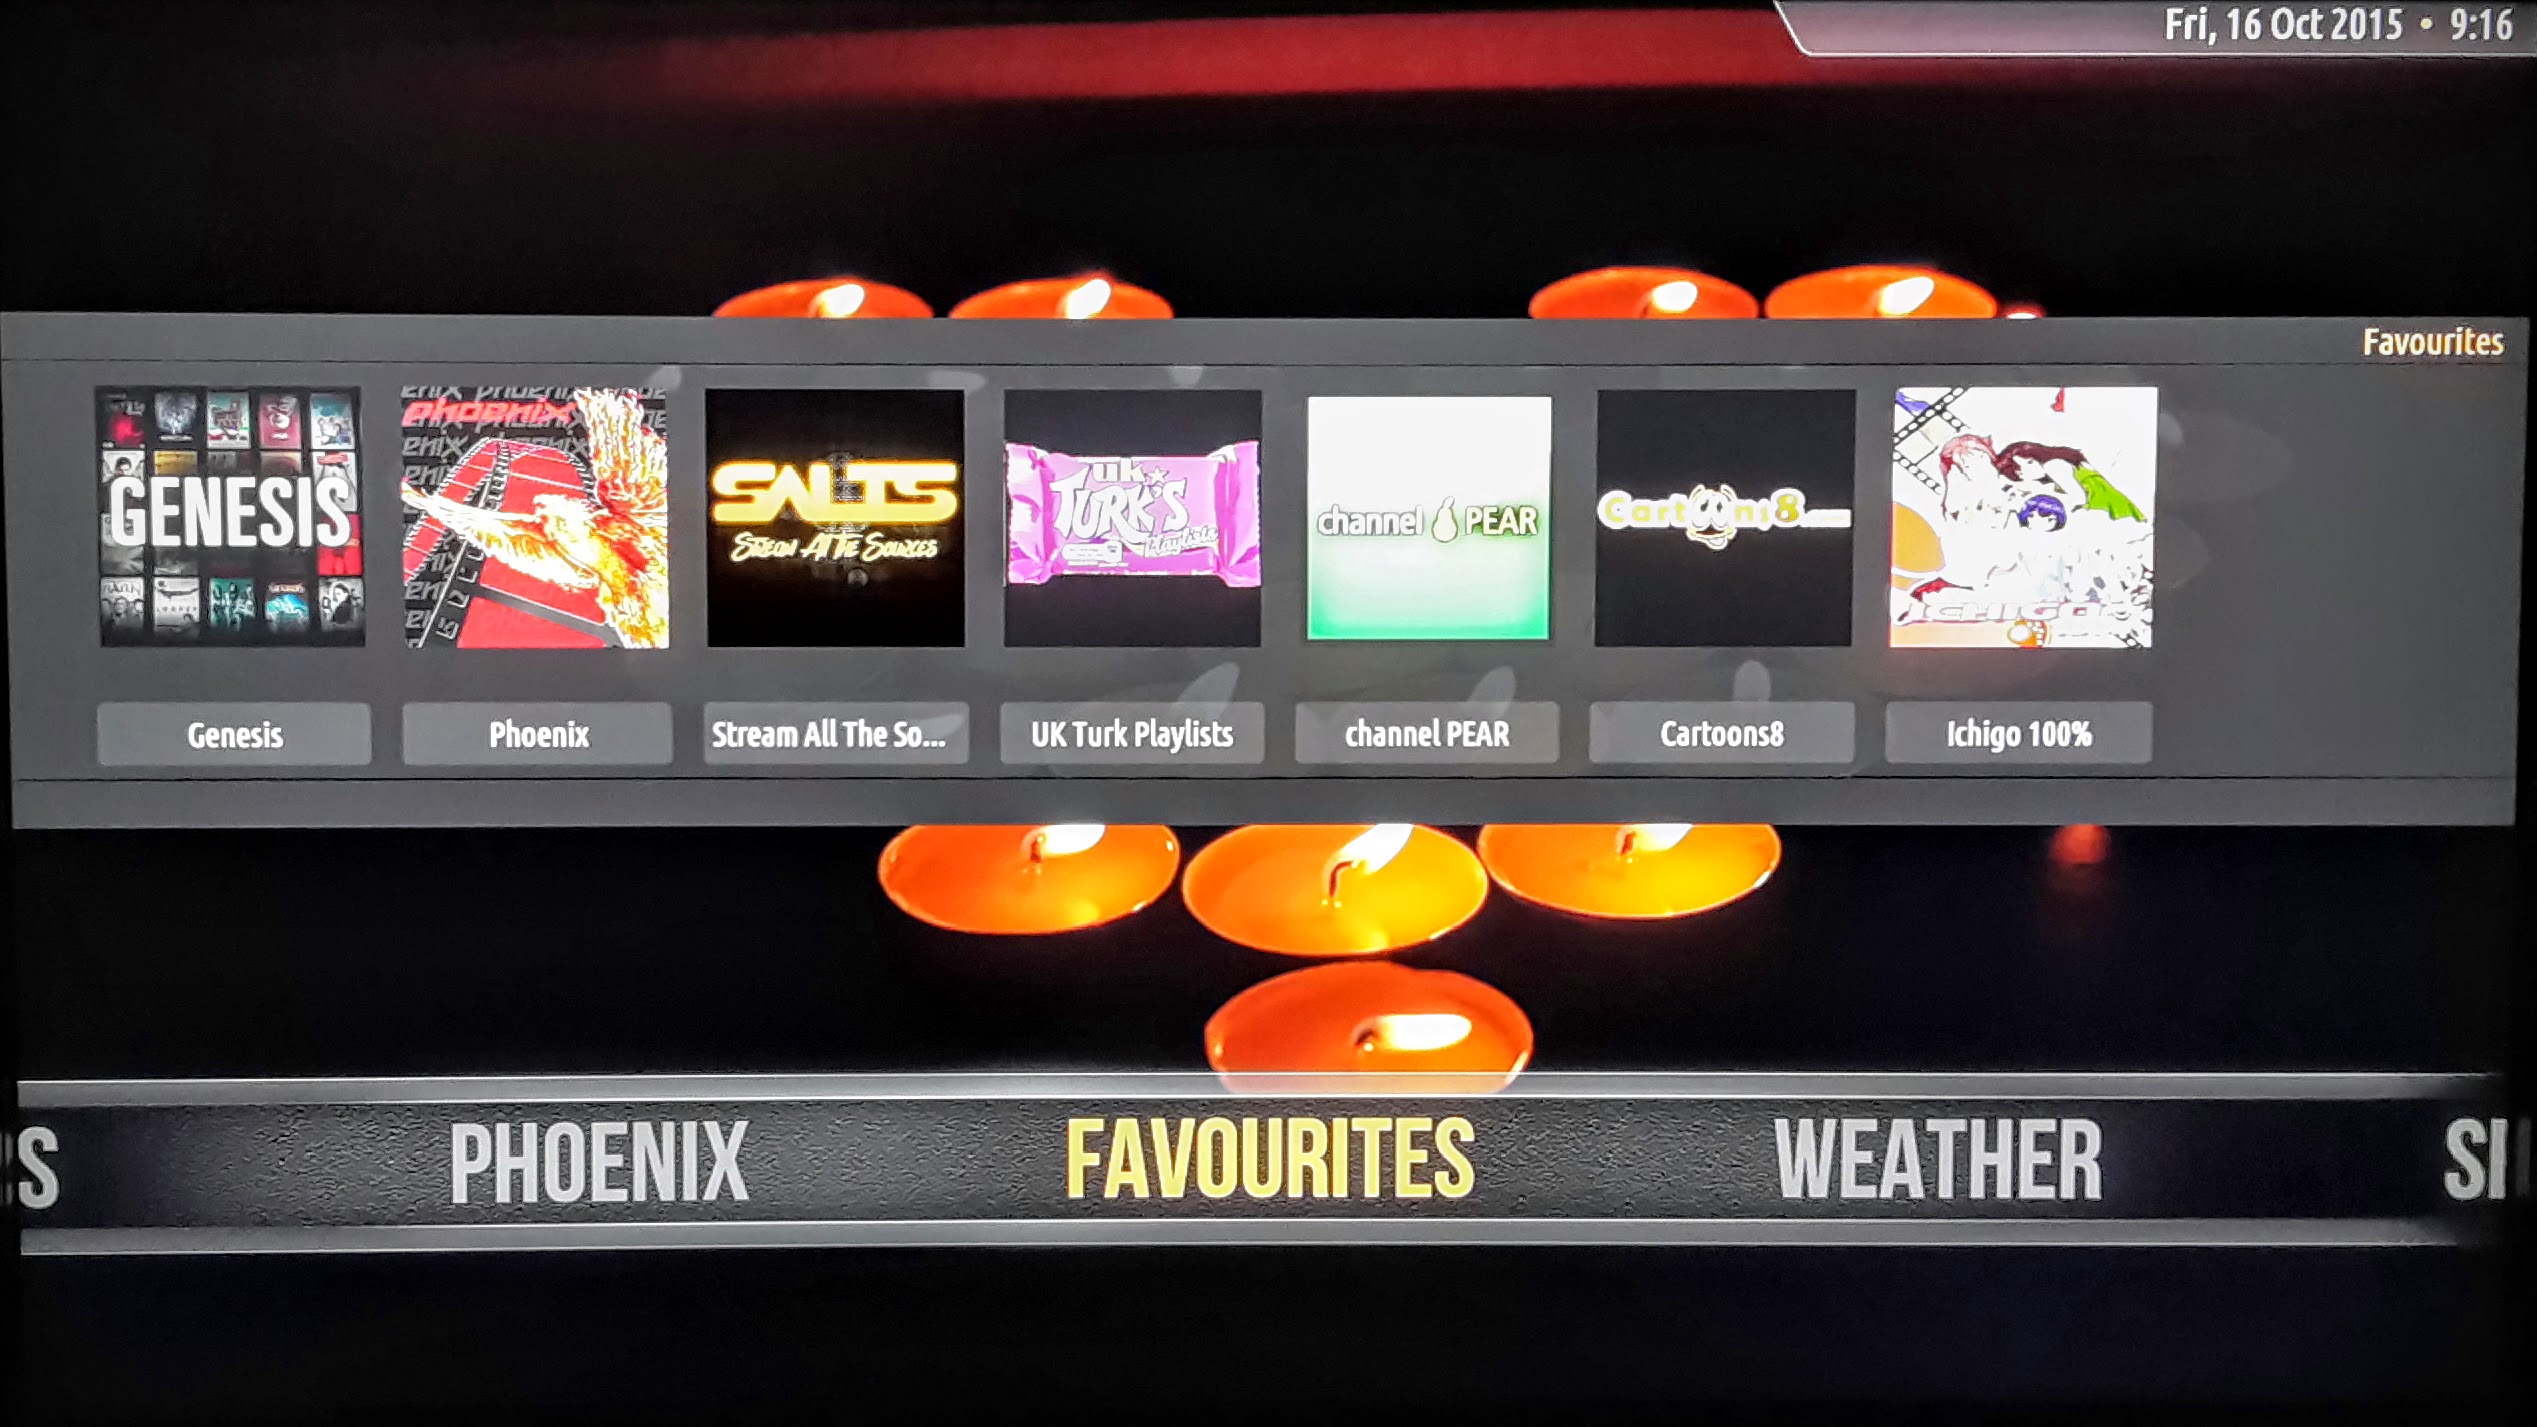
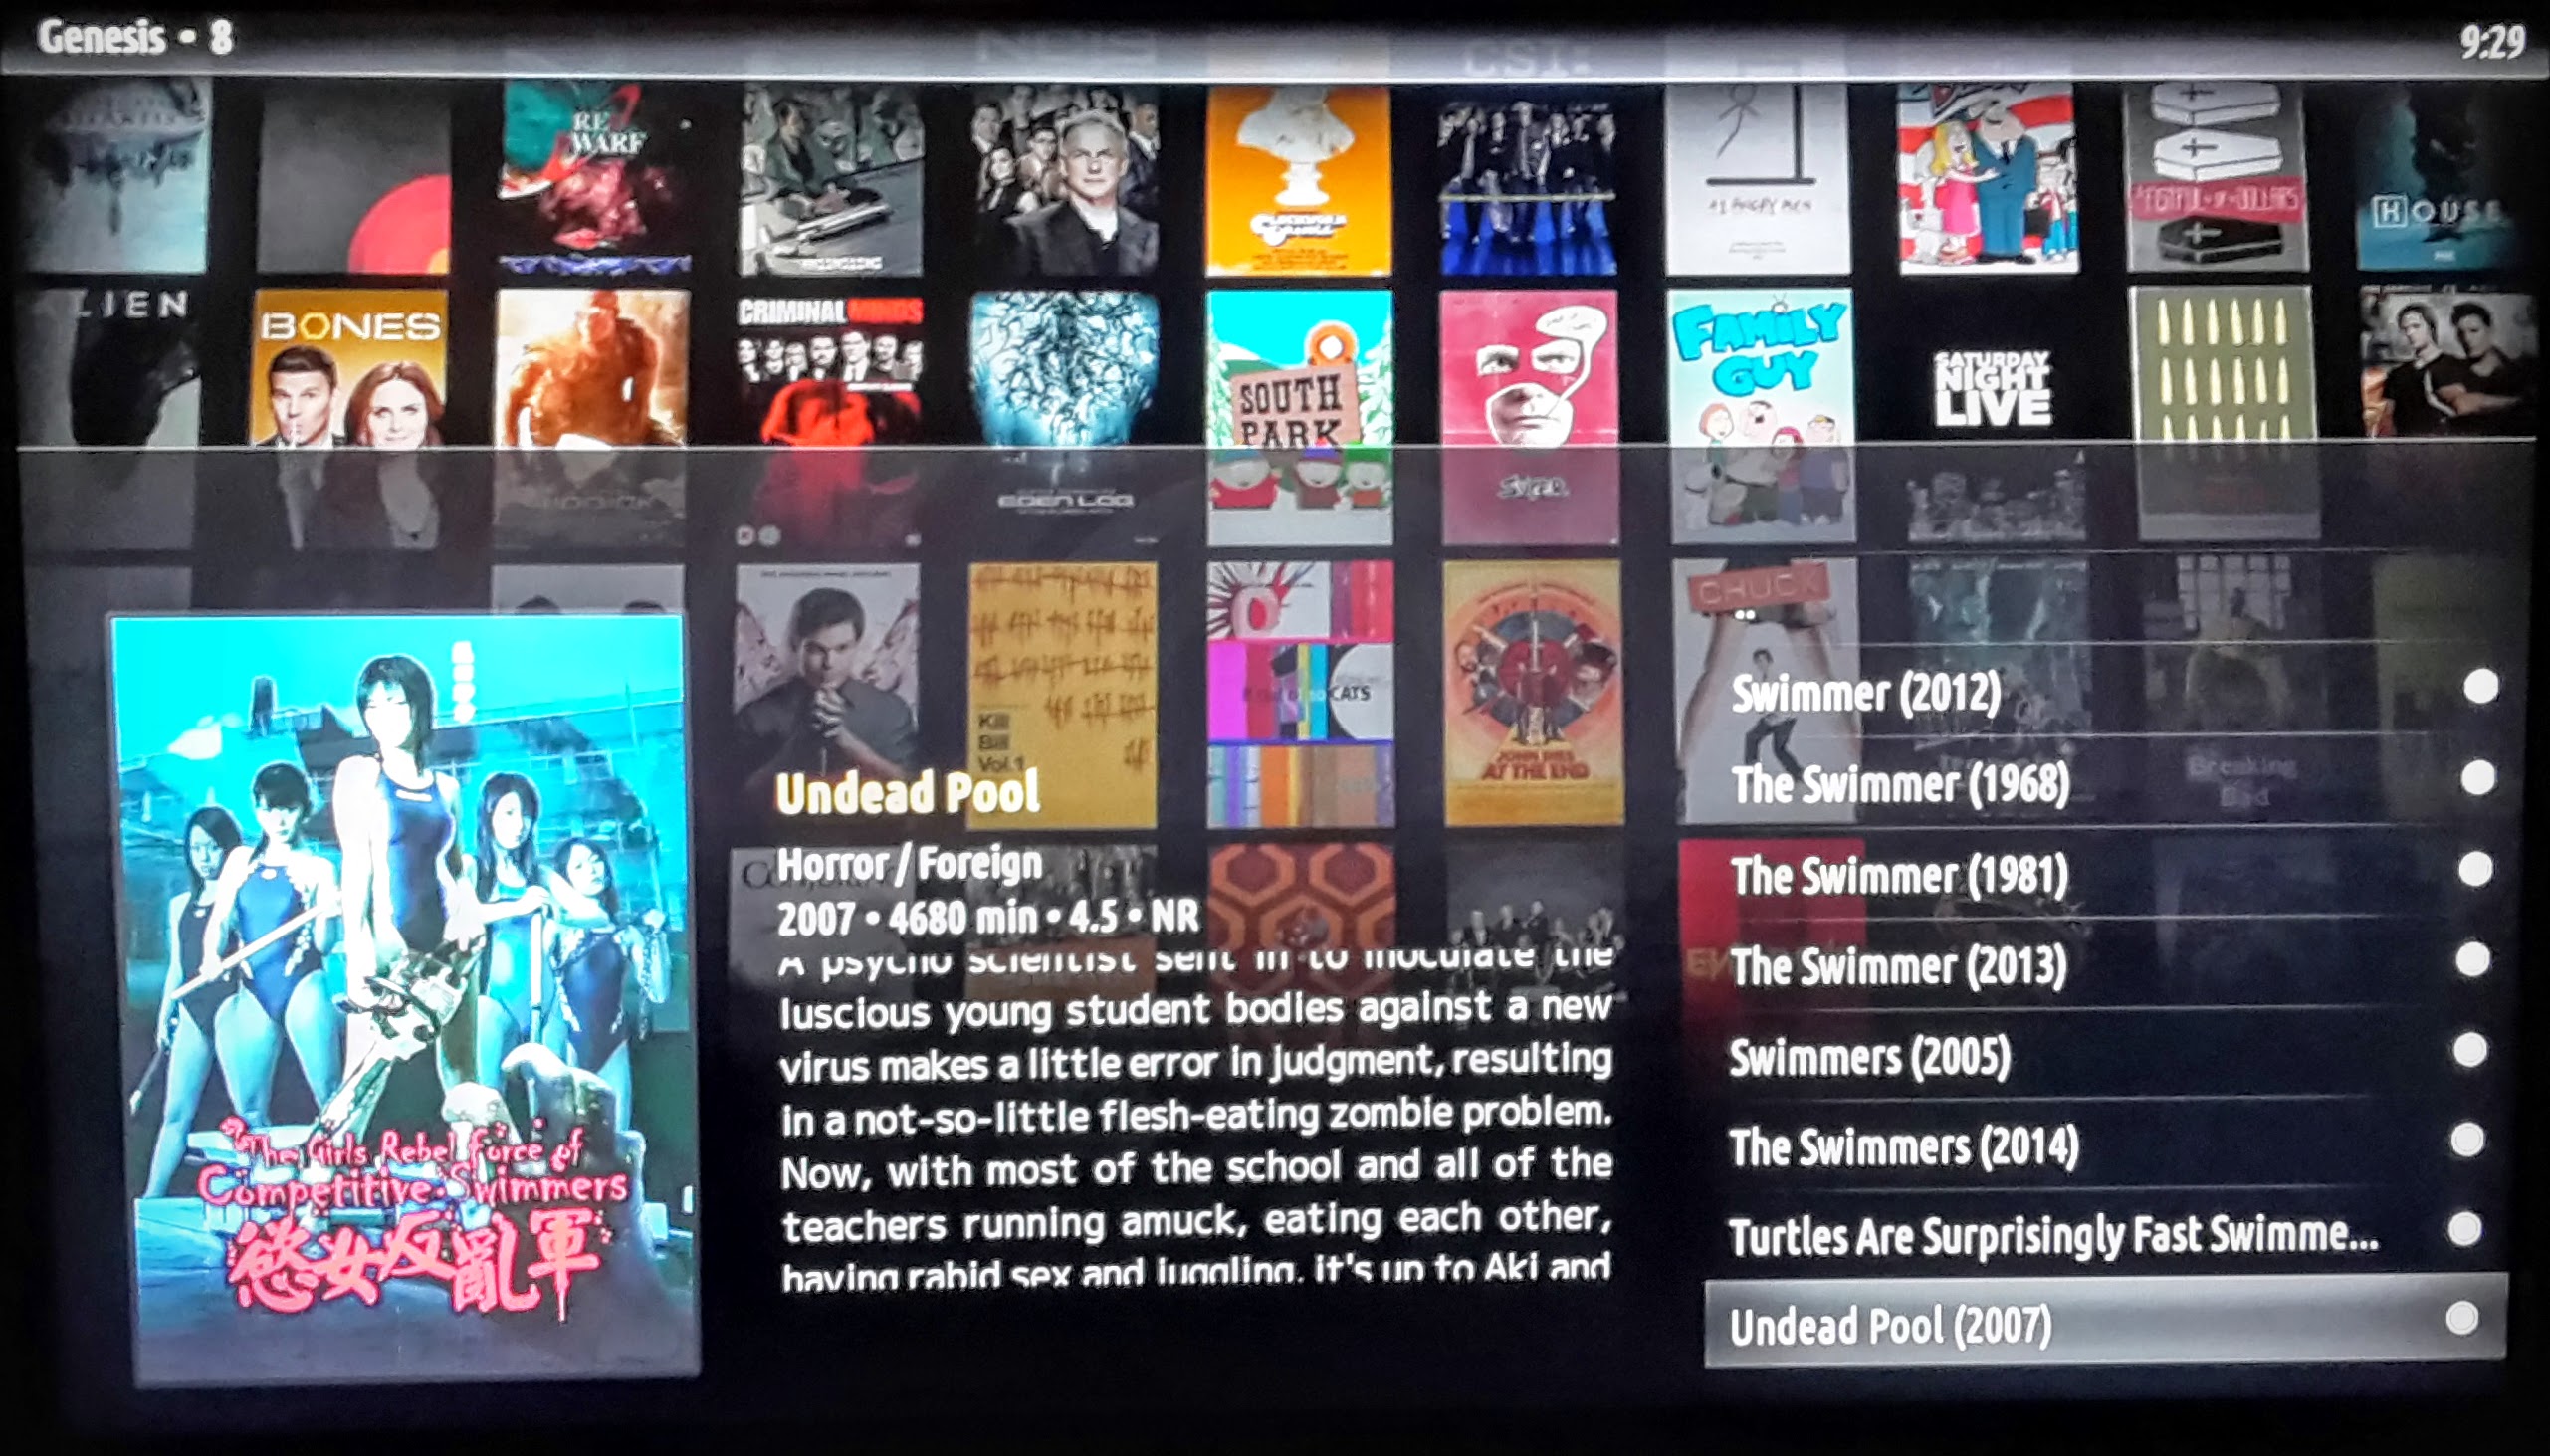
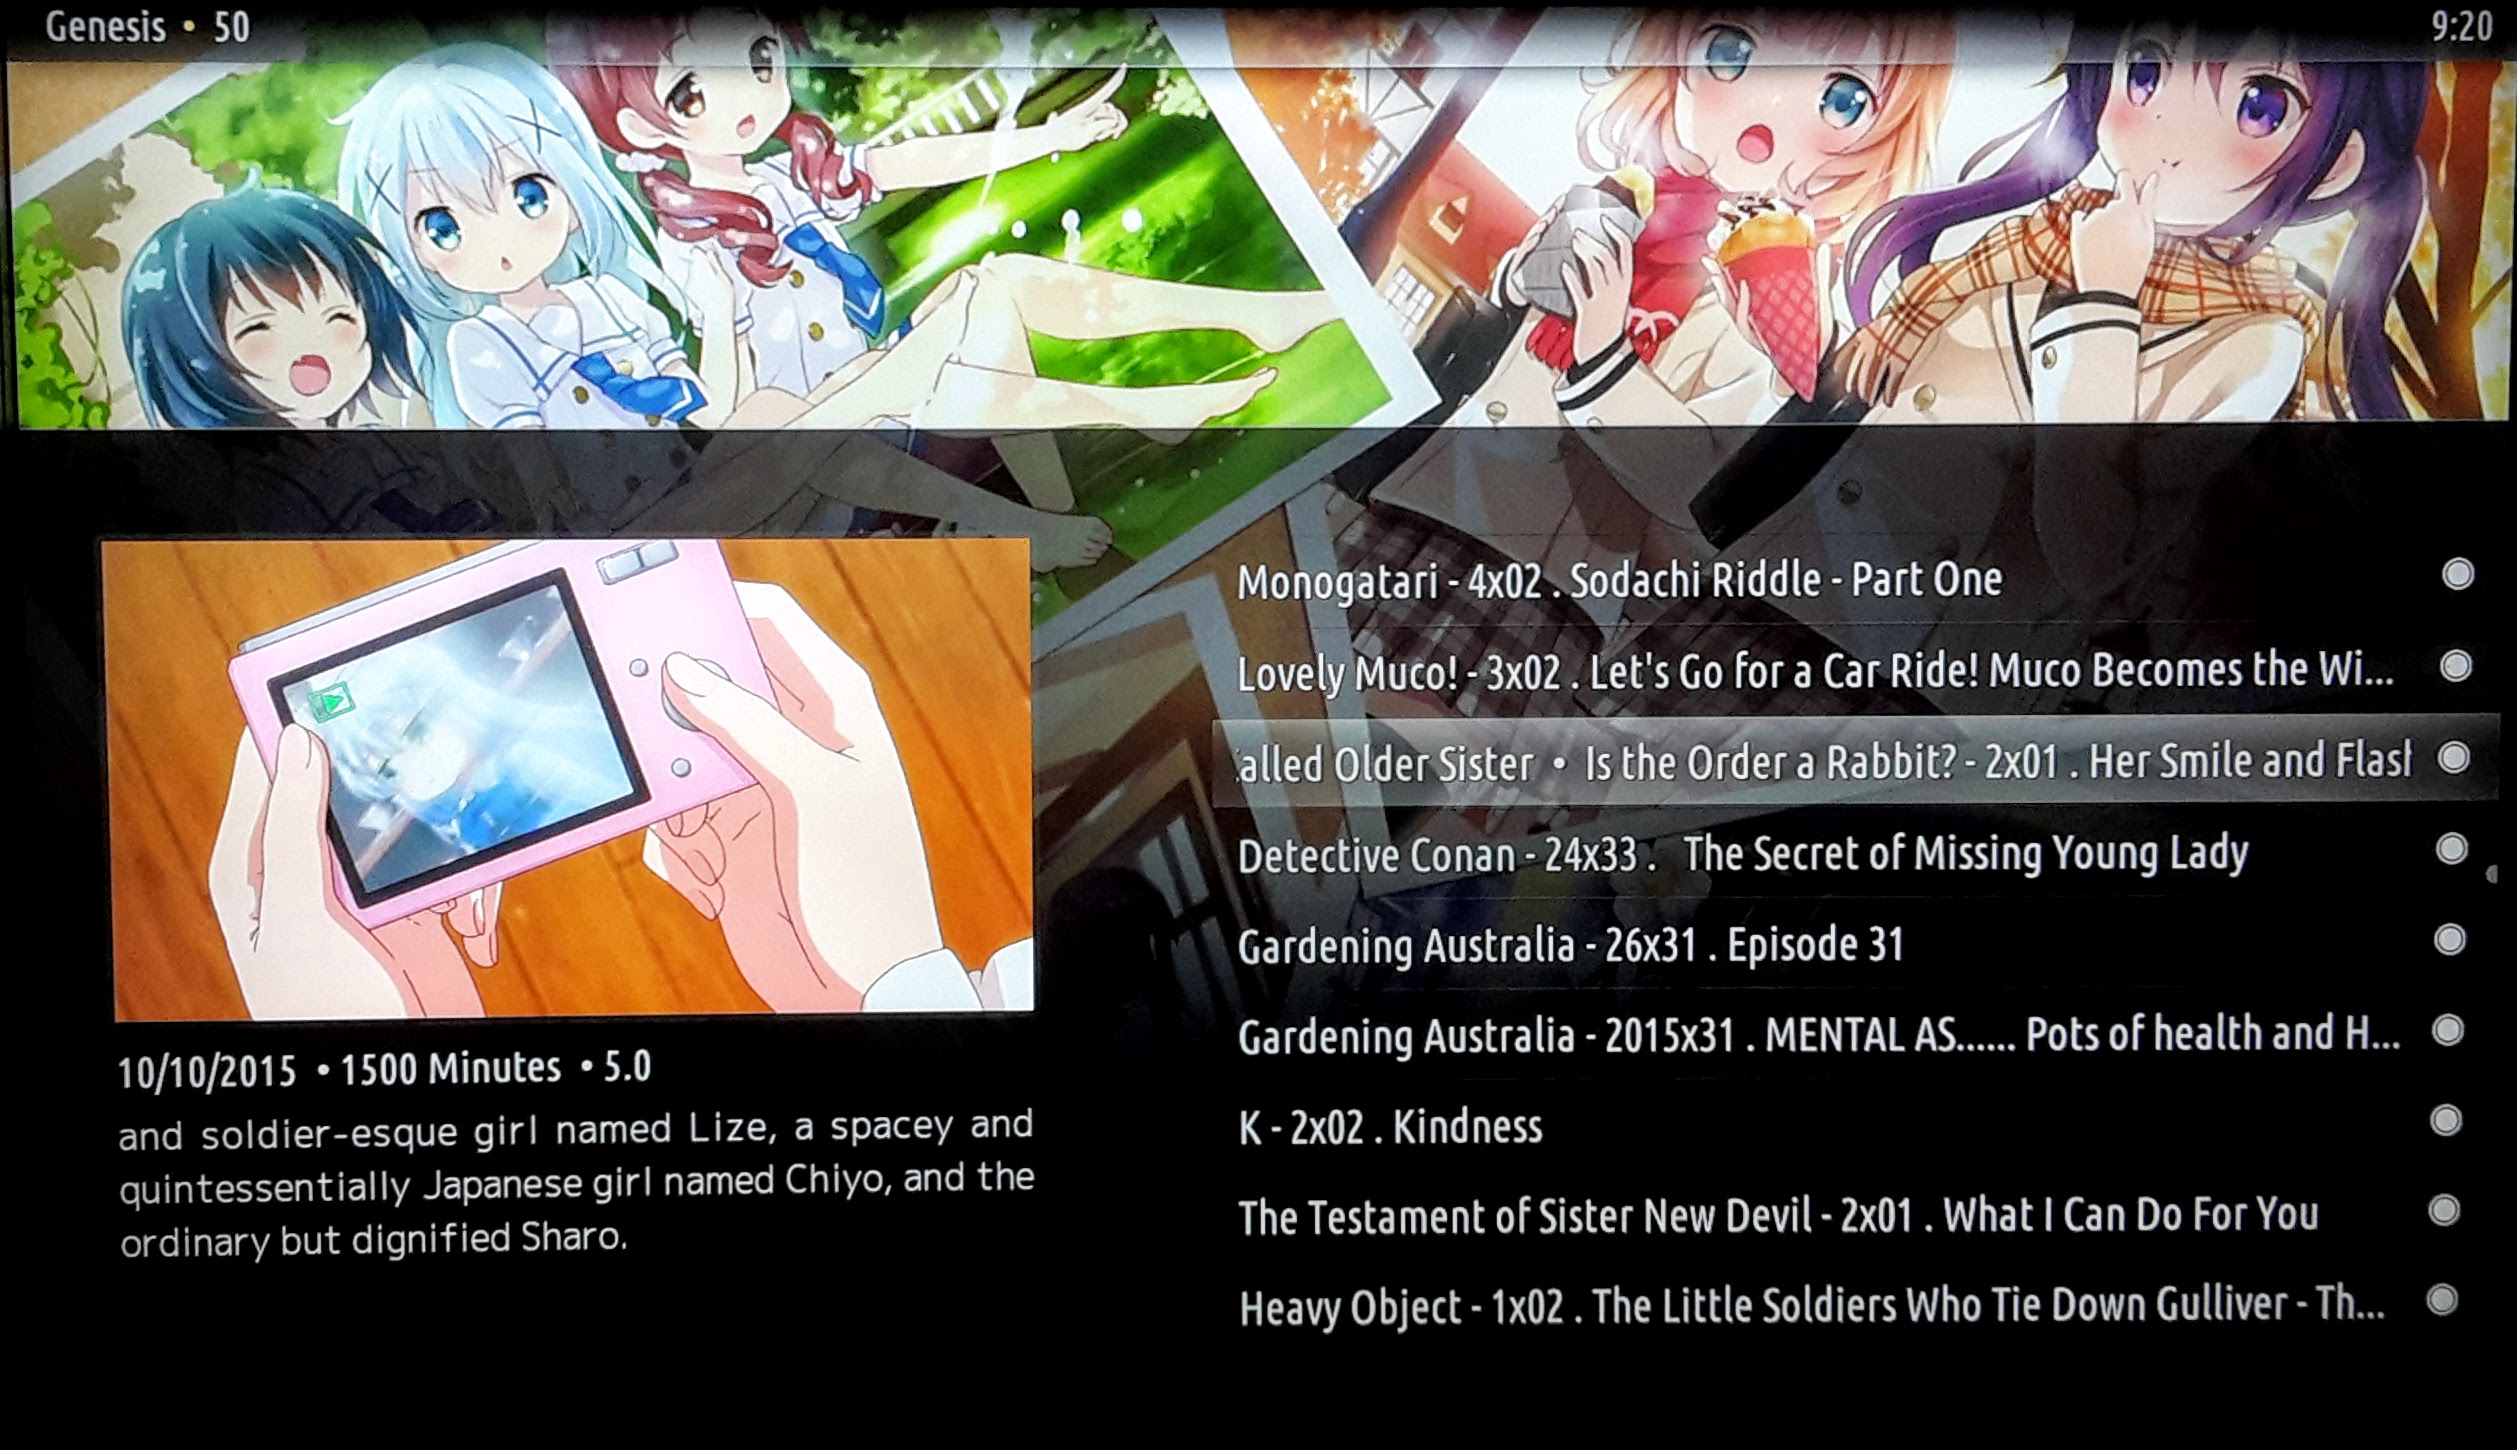
Genesis
Genesis provides a browsable and searchable index of films and TV Shows and pulls in details from IMBD and similar to populate the descriptions and to allow people searching (for cast and crew). It has pretty much all mainstream content plus quite a lot of more unusual titles. It usually offers a number of sources ranked by quality. You can stream the titles directly, or by enabling the option and entering a directory to save to, press ‘C’ to bring up the download menu and queue up a full download of the title in question, so you can quickly build up you media library by starting a few downloads and leaving it to get on with it.
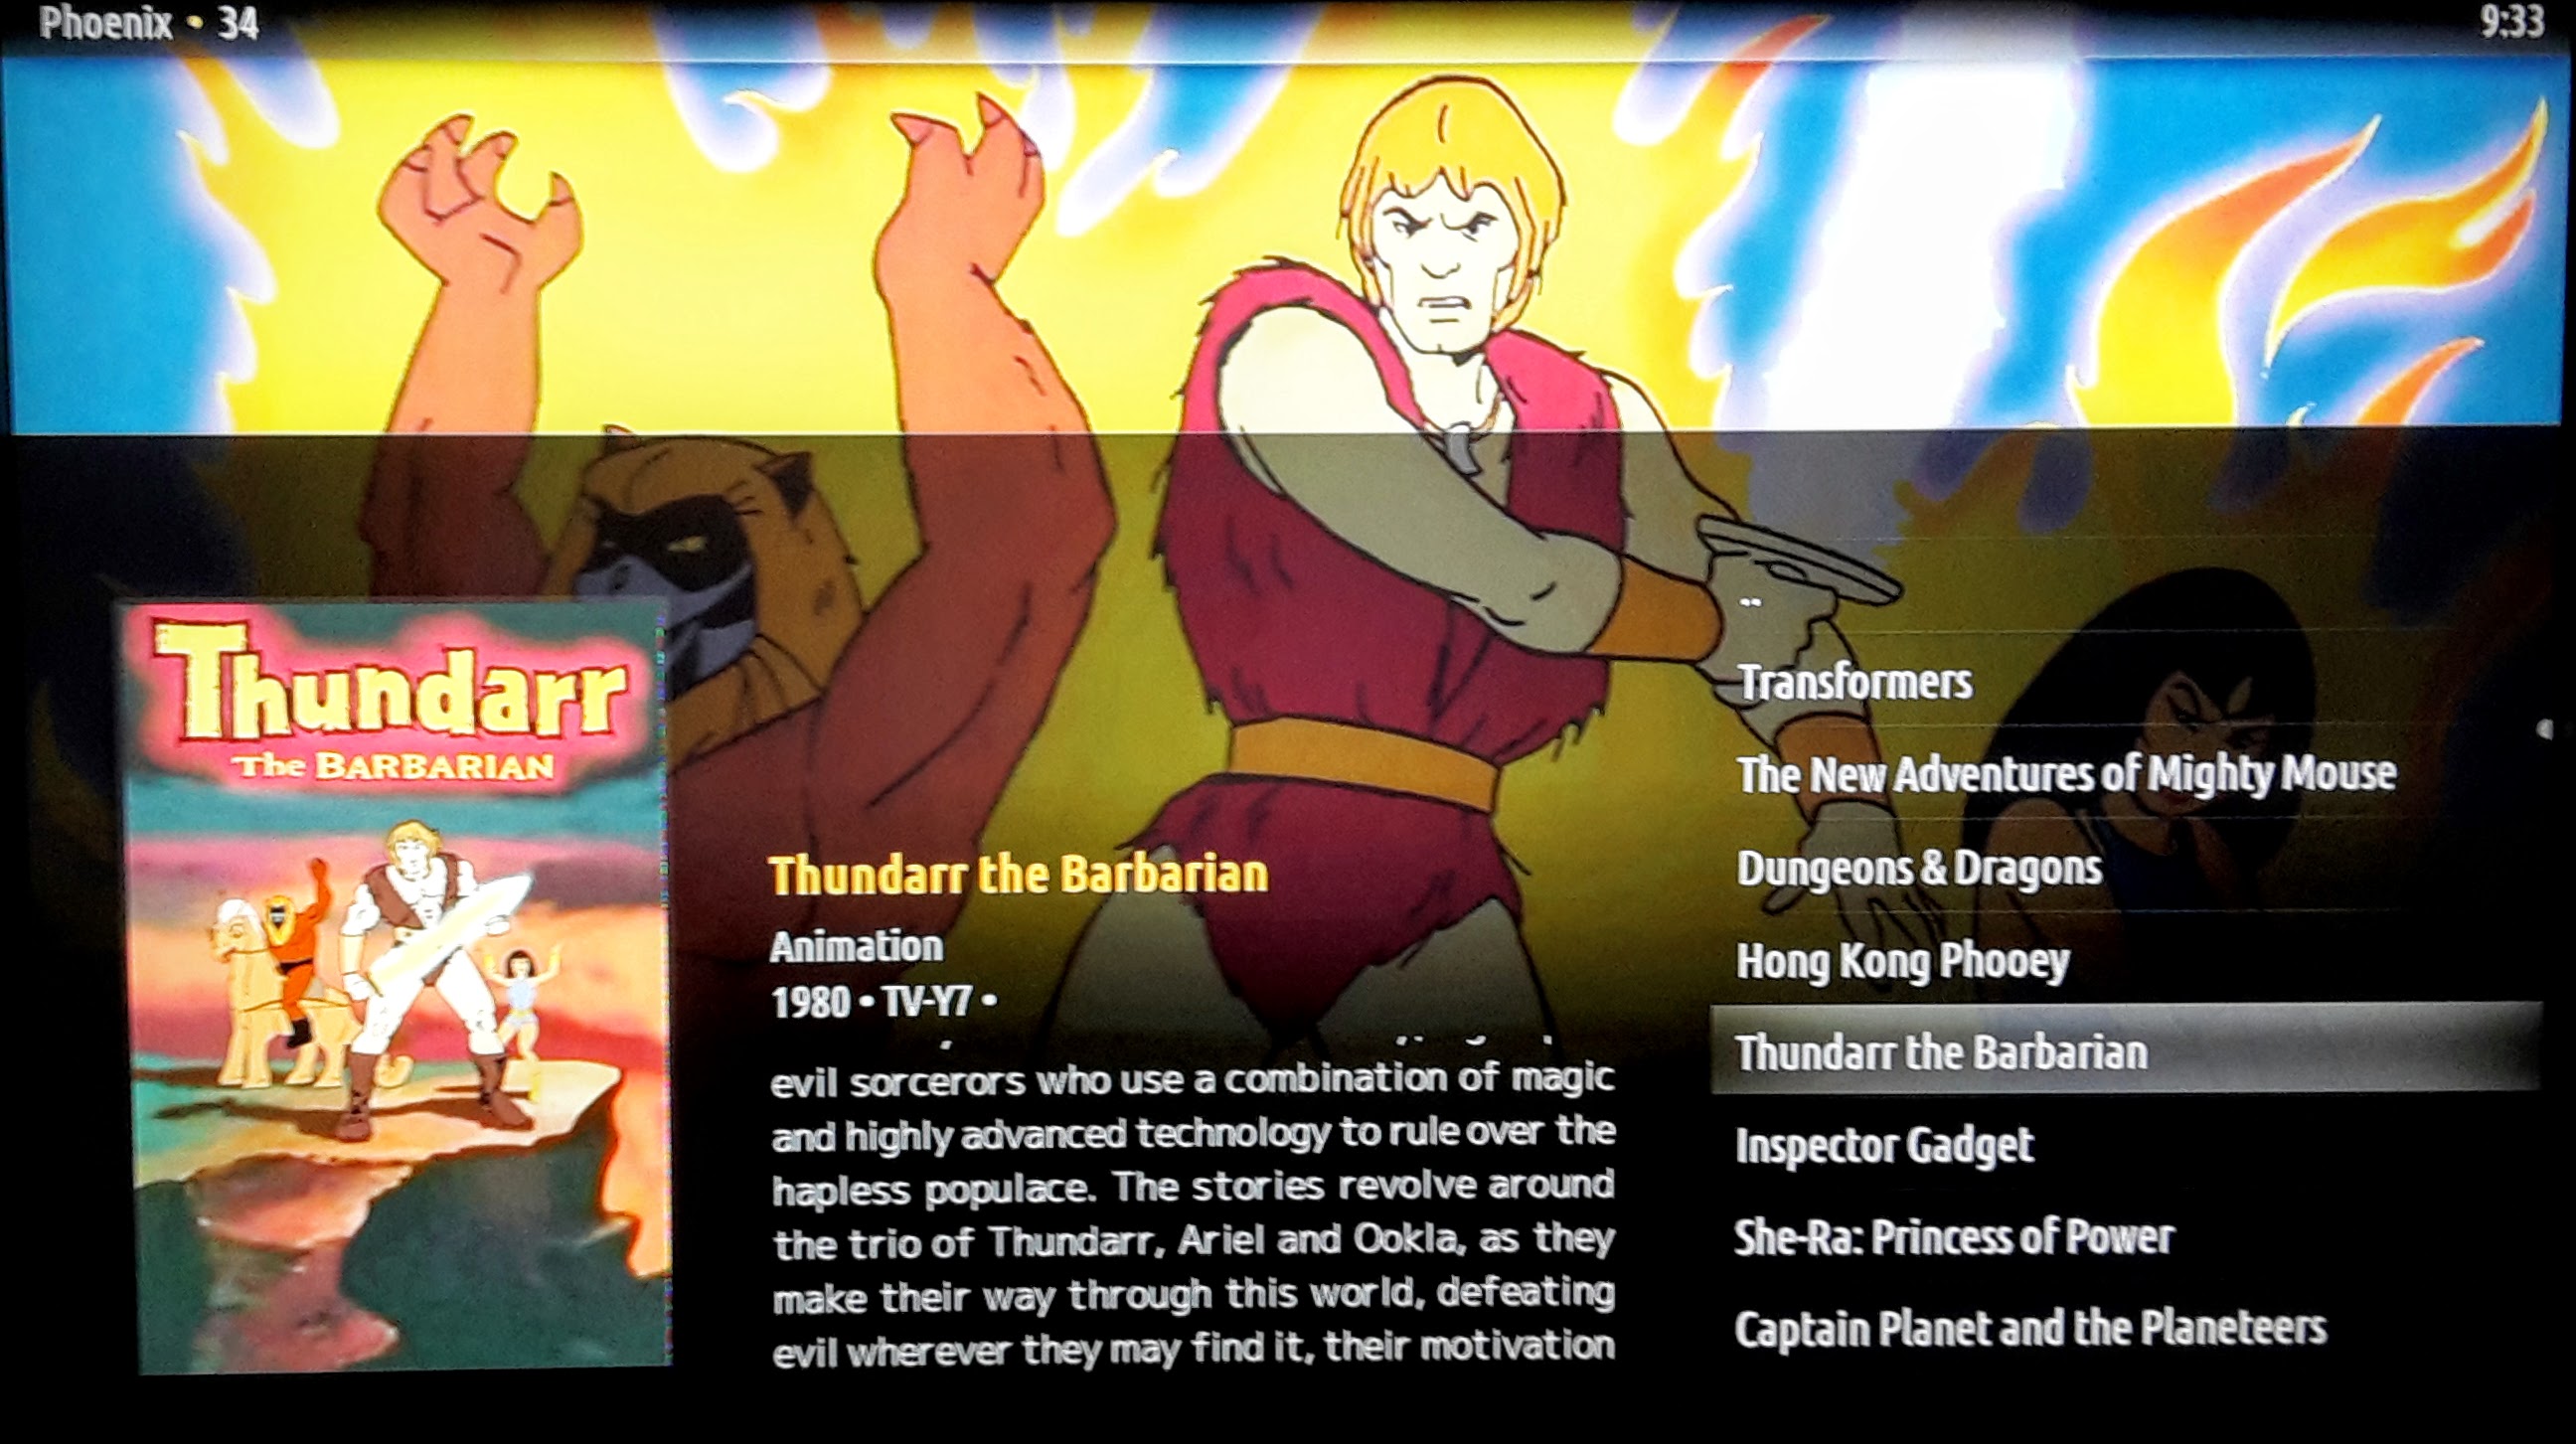
Phoenix
Phoenix is a little different in that it’s a set of moderated lists by various authors who each have an area of films they recommend, ie: action, romance. It has a search function but it only returns which list the titles you searched for is in, so you then have to browse for it. The selection as a result is more eclectic so some obvious titles won’t be on there but some unlikely ones are. It also has a download option.
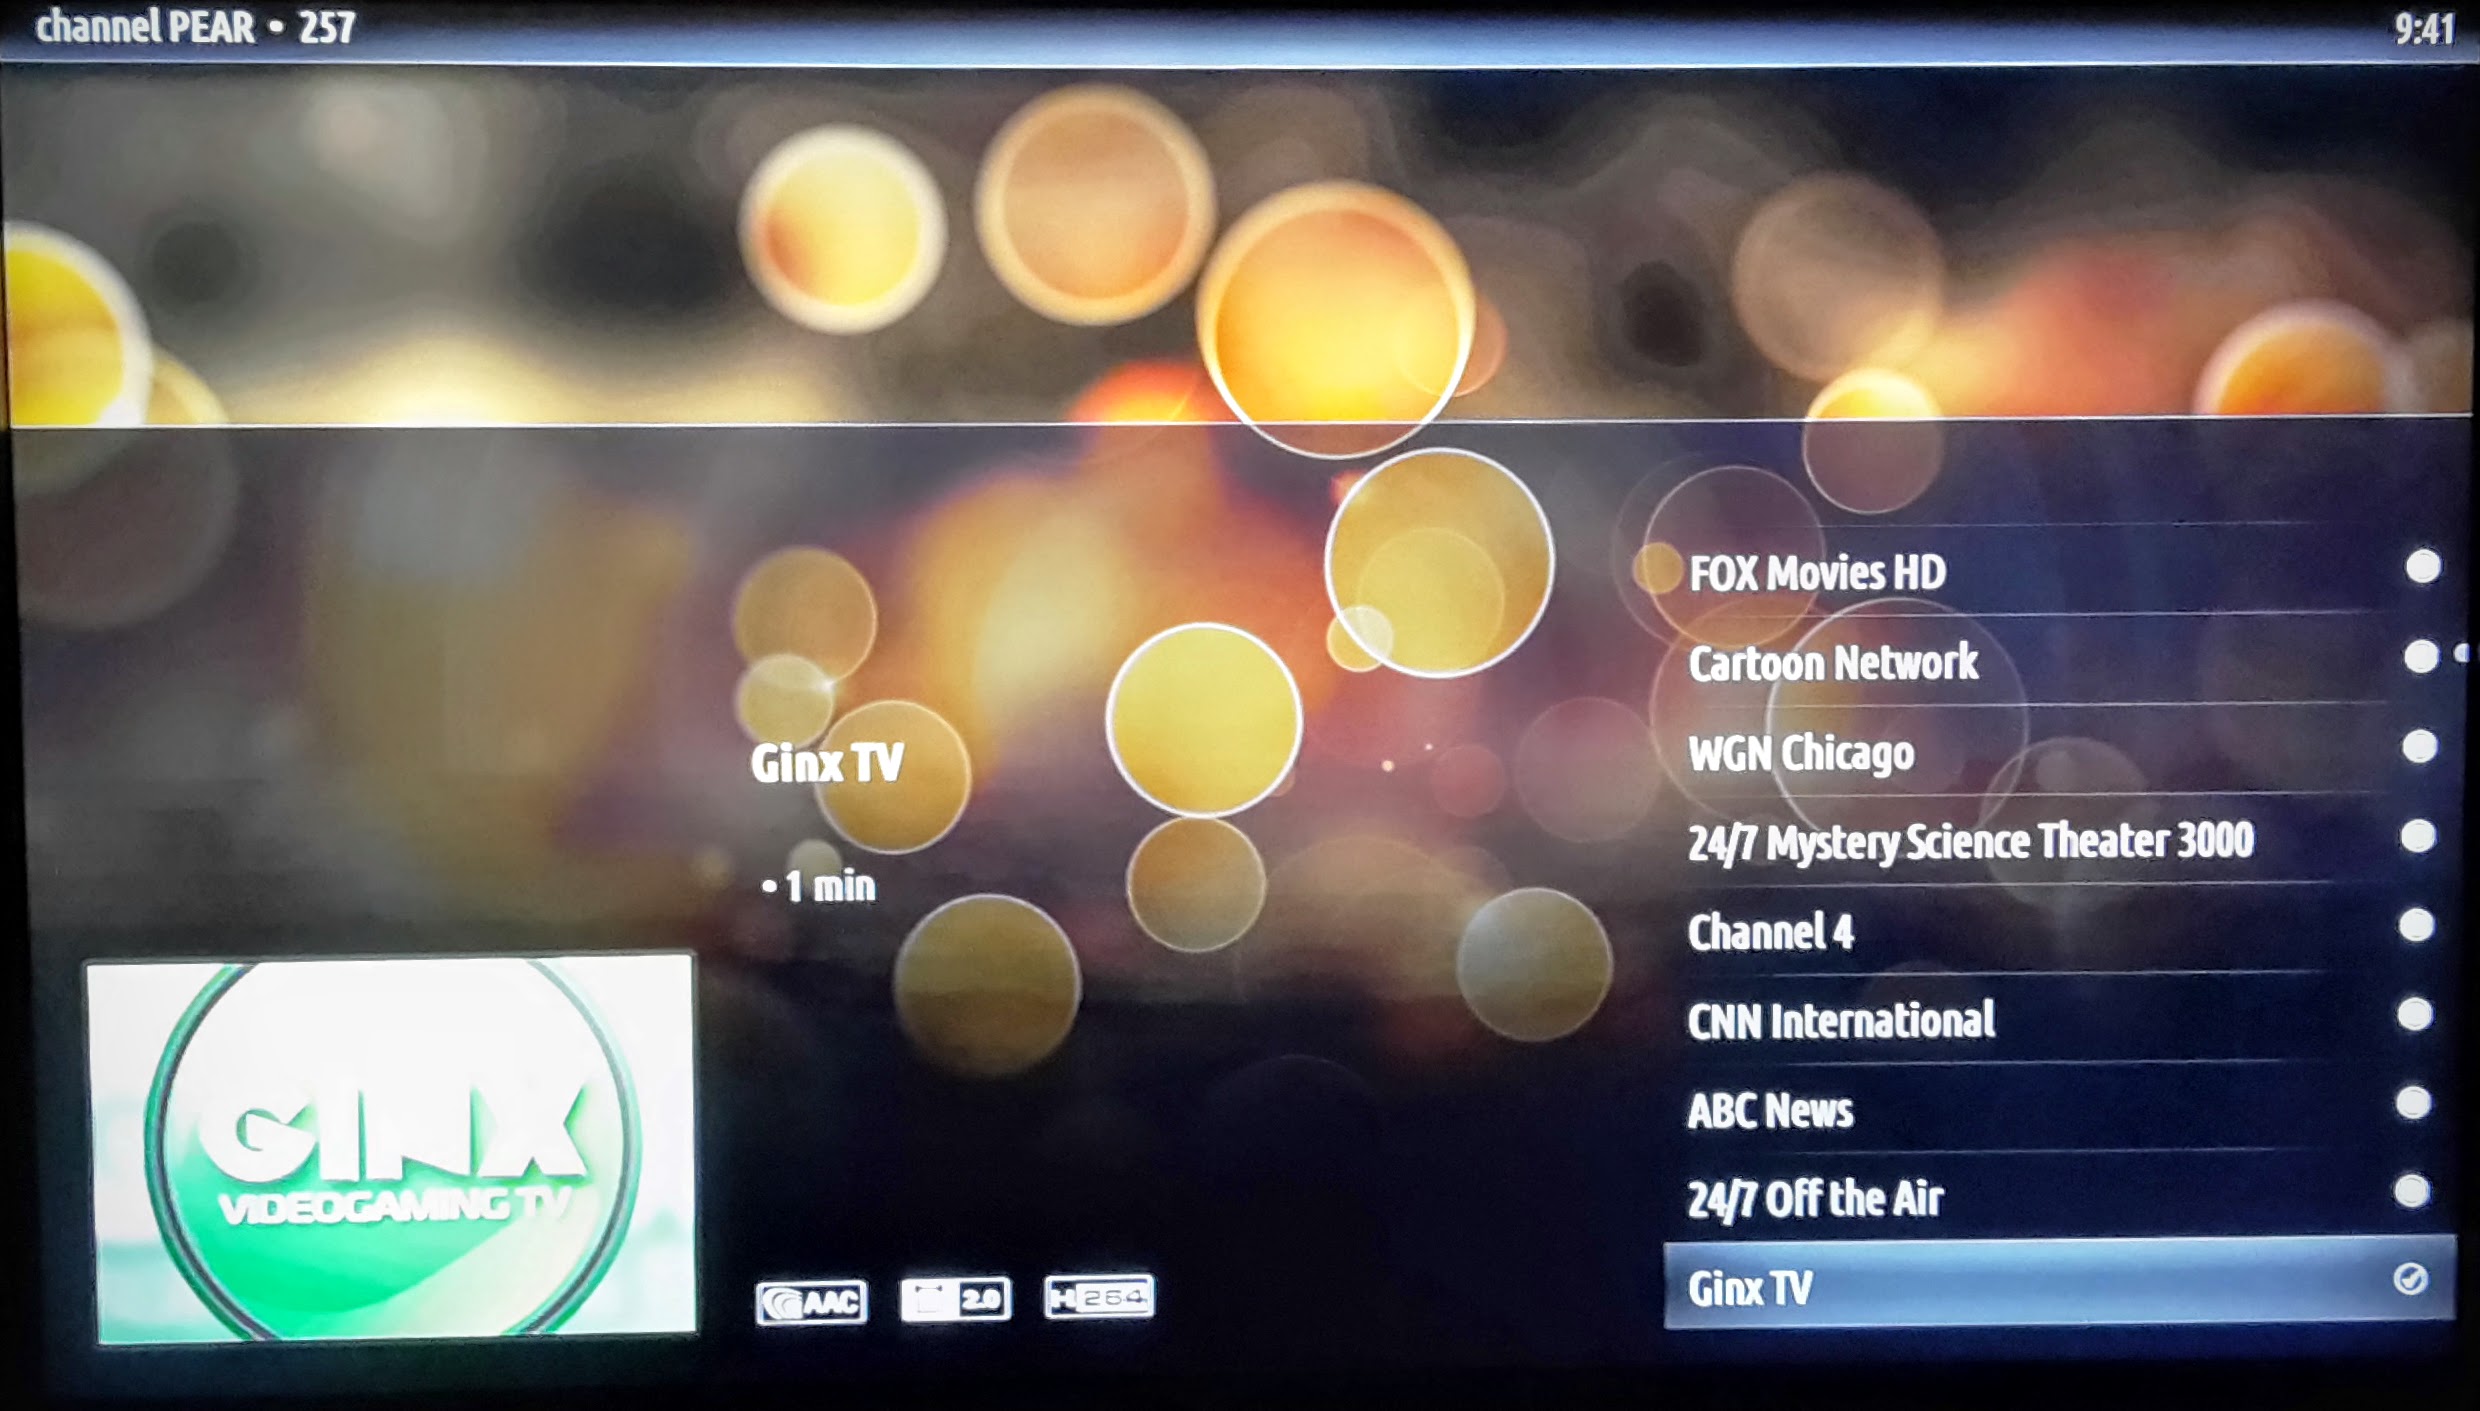
Others
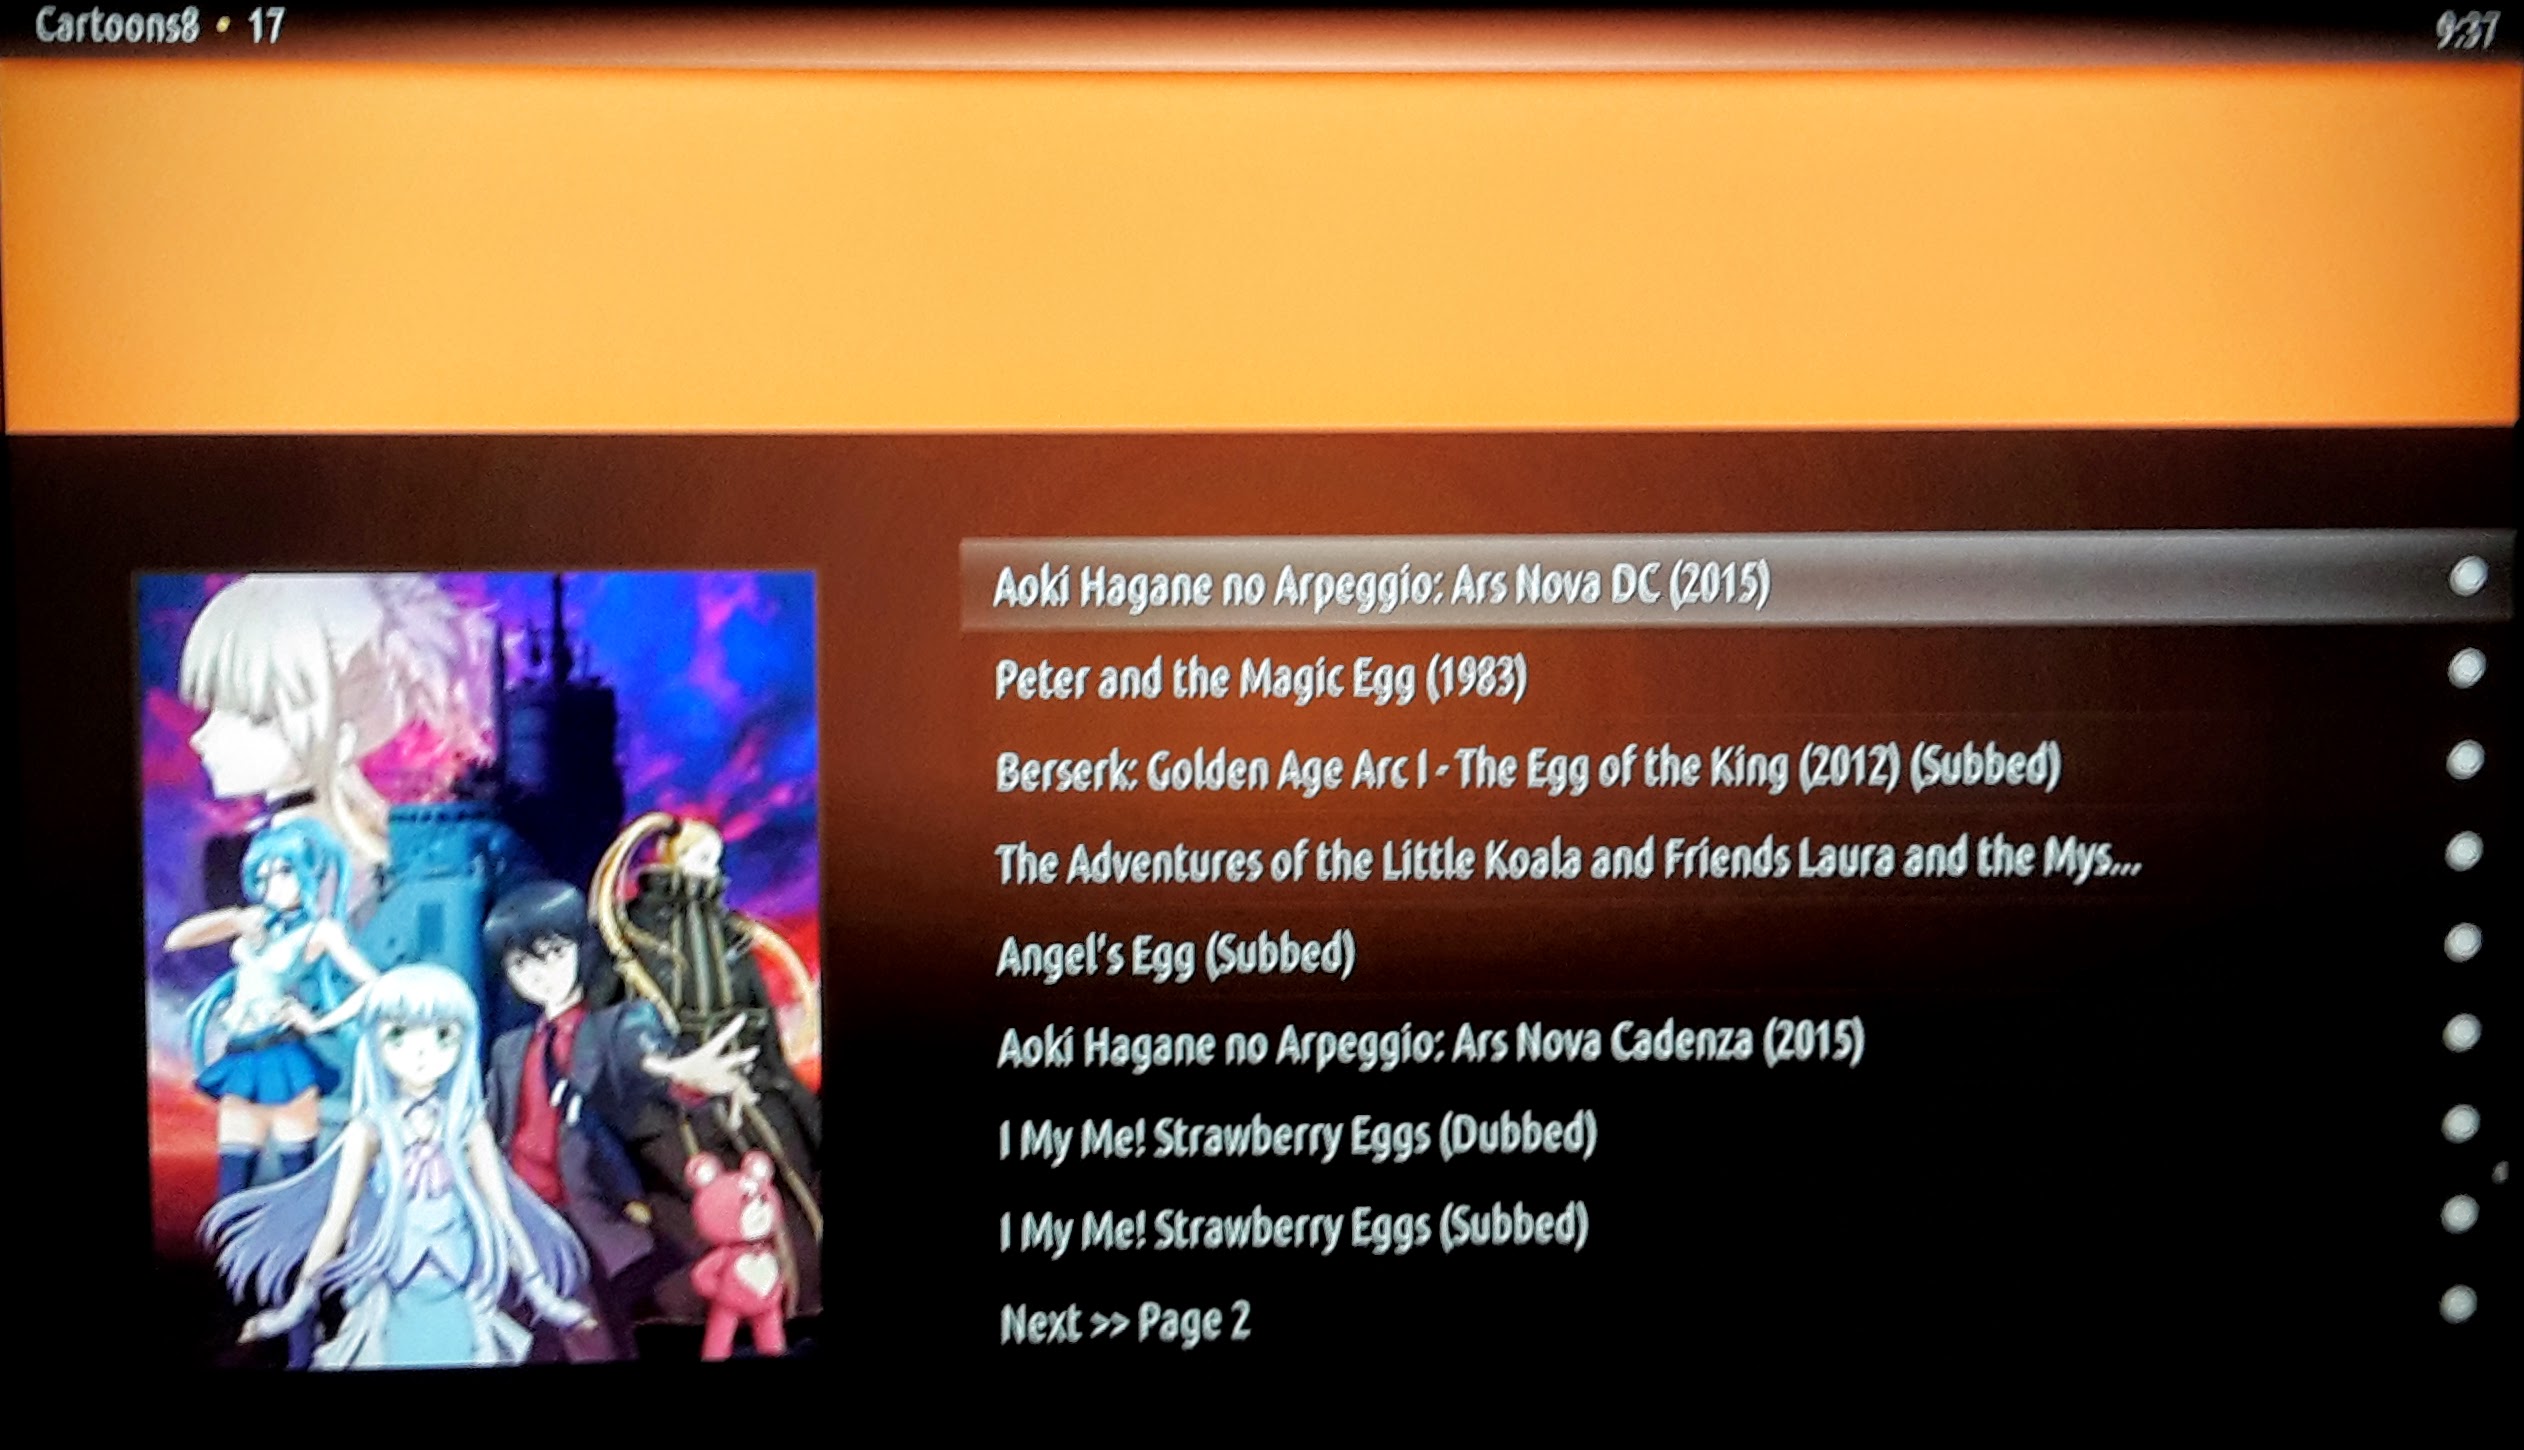
Cartoons8 is great for hard-to-find anime, as you might expect and Channel PEAR provides live streams of channels you might not get through your TV service, such as the Virgin-only Ginx TV gaming channel.
Shortcut Keys
Lastly, here is a list of shortcut keys that work with an attached keyboard if you don’t have a remote with playback-style keys.
Esc or
Backspc  Previous Screen
F8       Mute
F9 or –  Volume Down
F10 or + Volume Up

Space
or P     Play / Pause
F        Fast Forward
R        Rewind
<-       Step Back 30s
->       Step Forward 30s
X        Stop
I        Info
T        Subtitles On/Off
M        Player Control Menu (audio, subs, ratio etc)
A        Audio Delay Control

C        Context Menu
P        Mark Watched / Unwatched

S        Shutdown/Reboot Menu
Ctrl+S   Screenshot
Z        Zoom / Aspect Ratio

1-9      Zoom Photos, also + / -
.        Next Photo
,        Previous Photo
Good luck, and have fun!
FJ